


Hello, and welcome to our first tutorial of 2017! Spring is (hopefully) just around the corner, so this month we're making some bright bunting to jazz up a child's bedroom. Ready? Let's go!
We're going to make beautifully finished double sided bunting, so it'll look really professional no matter which angle you're viewing it from. We've chosen to use prints by Squeaky Angel and Emma Allard Smith.
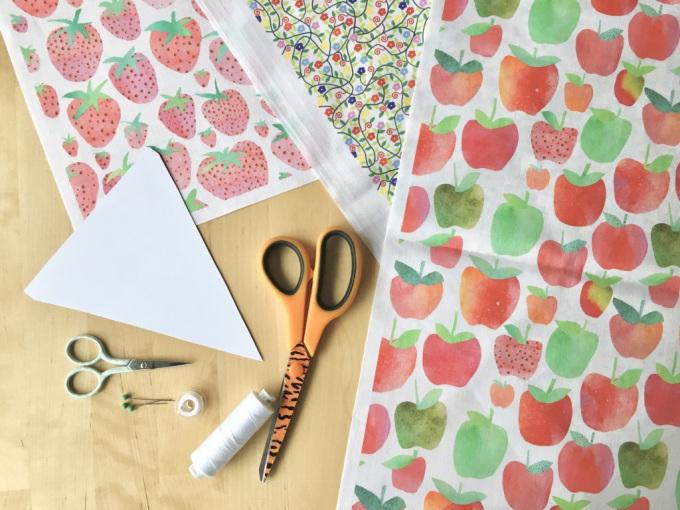
Supplies:
- 0.5m of fabric for the back of the bunting. We're using this floral design from our Woven Monkey shop, printed onto cotton sateen - click here to order some!
- 2 fat quarters of fabric for the front of your bunting. We're using two complementary designs, also printed onto cotton sateen - click here for the apples, and here for the strawberries.
- At least 2m of bias tape, depending on how long you'd like your string of bunting to be. We made our own using the remainder of our backing fabric, but you can also buy it ready-made!
- 1 sheet of cardboard - we've used plain white card here, but an old cereal box works really well too
- A ruler
- Scissors
- Pins
- Thread
Once you've gathered all your supplies, it's time to get drawing! Decide how big you want your bunting to be, and draw a triangle of that size on your piece of card using a ruler to make sure the edges are perfectly straight. Now add a 1cm seam allowance around the edge of your triangle, and cut it out.
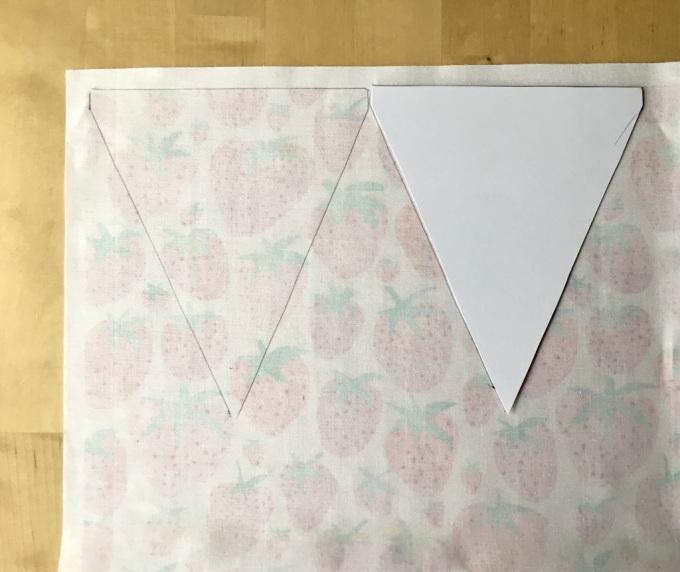
Place your front fabric face-down on your work surface. If it's a directional print like these apples and strawberries, make sure you've put it the right way round!
Trace around your triangle template with a pencil or some tailor's chalk; these lines will later get lost in the seam allowances of your bunting, so don't worry too much if it's not super neat:
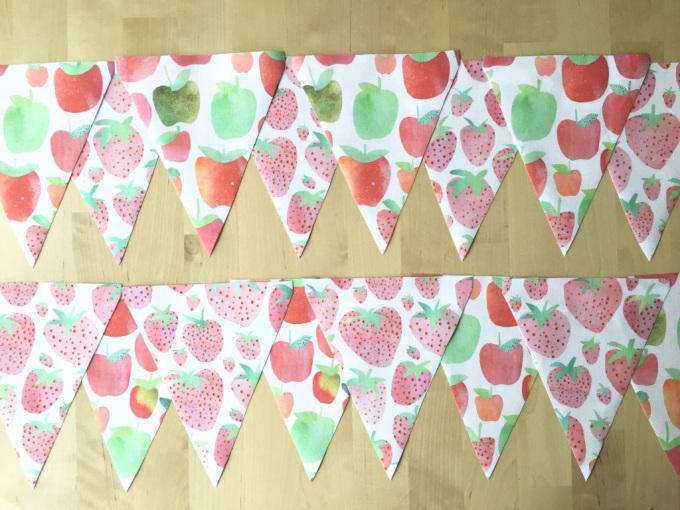
Cut out all your triangles, and voila! It's starting to look like bunting:
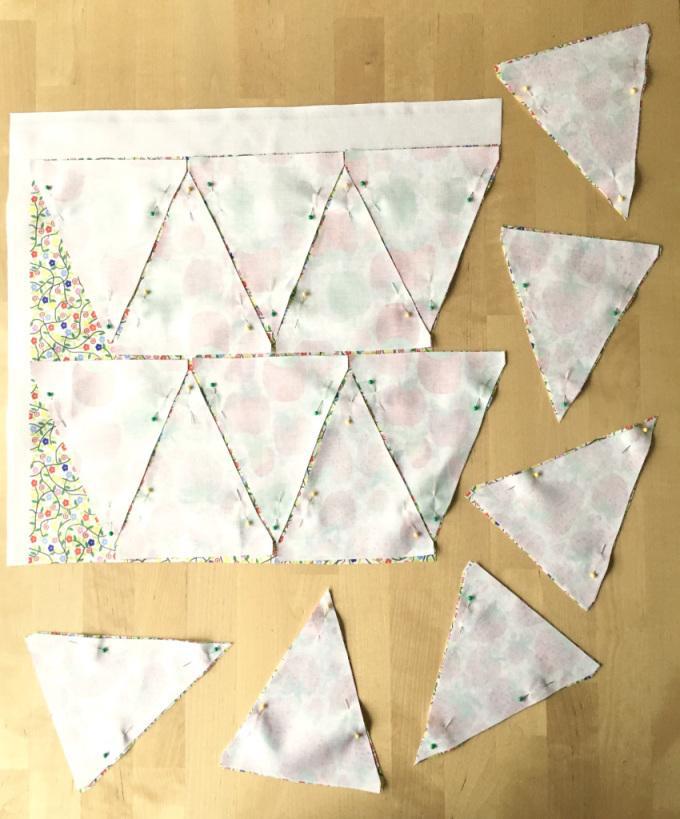
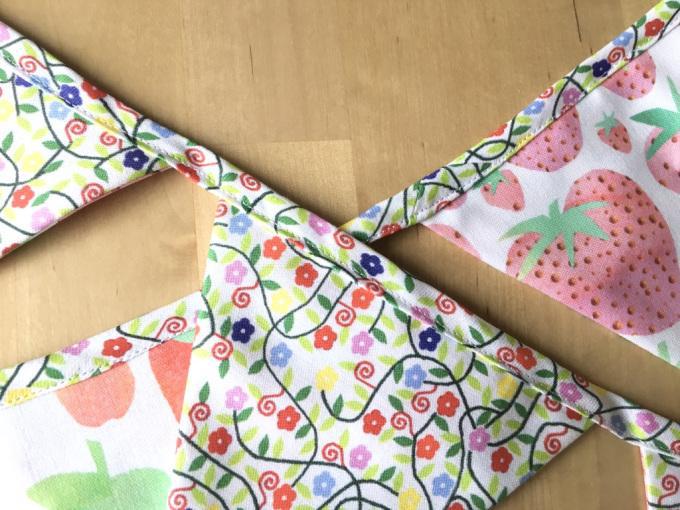
Now you have the front pieces of your bunting cut out, it's time to do the backs. We've chosen a non-directional print for the back of our bunting so we can tessellate the pieces more efficiently. Lay each front piece face-down onto the backing fabric, leaving a small gap between each one:

Pin these pieces into place - you should only need three pins per triangle:
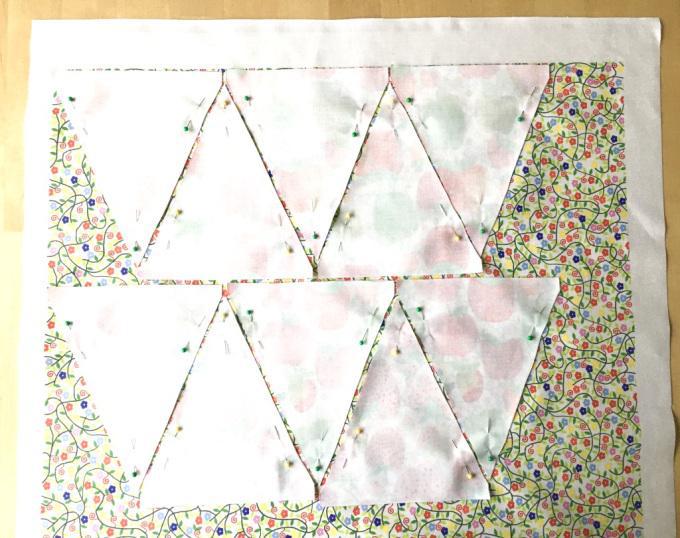
Cut around your triangles - would you look at that? They're all perfectly pinned and ready to be sewn!
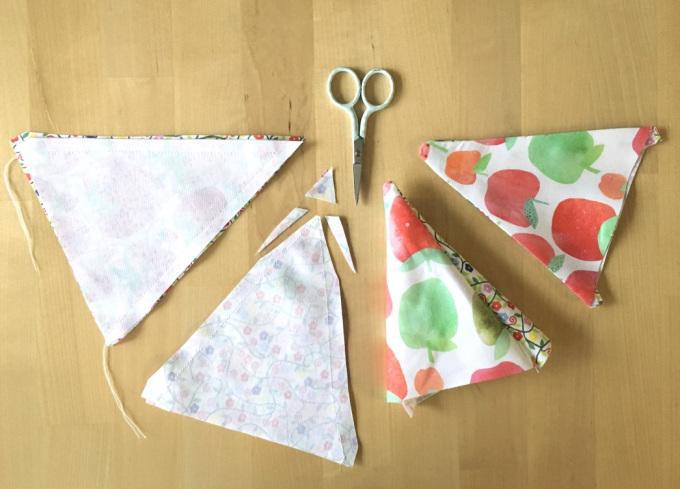
Stitch along the two long edges of each triangle, leaving a 1cm seam allowance. Snip off any dancing threads, and trim off the excess seam allowance around the point (see below). Be careful not to trim too close to your line of stitching!
Turn each triangle inside out, and press with a cool iron:
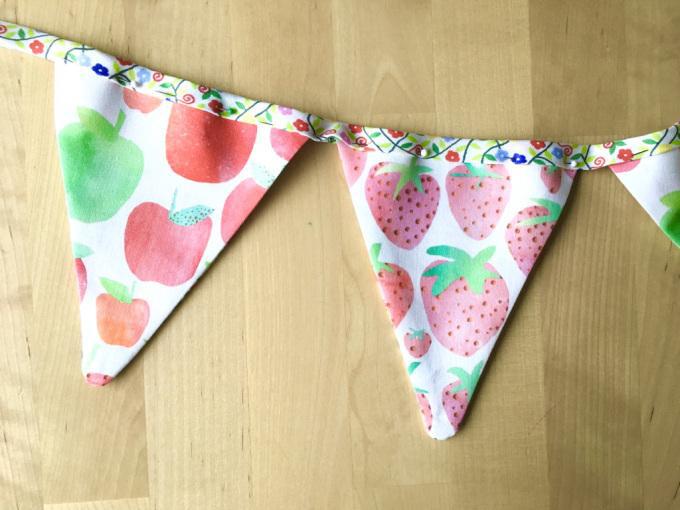
Now it's time to attach all the triangles together. Starting about 30cm in from the end of your piece of bias binding, enclose the open top of each triangle in the fold of the binding and pin in place. Repeat for each triangle, leaving a gap of about 1cm between them. Sew in place.
If you're going to be hanging your bunting from a hook, why not fold over the end to make a loop?

And there you have it, two-sided, professionally finished bunting!
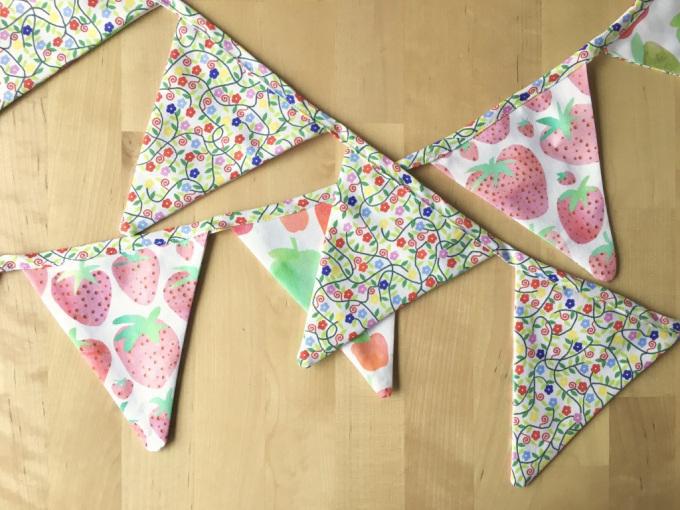
Ahhhh, just look at that matching binding!
Have you made some delightful bunting with your Woven Monkey fabric? Tag your photos with #WovenMonkey on Instagram for a chance to be featured on our feed!
Want to hear more about our great fabrics? Check out our fabric guide page. Want to chat to one of our experts? Let’s chat.