


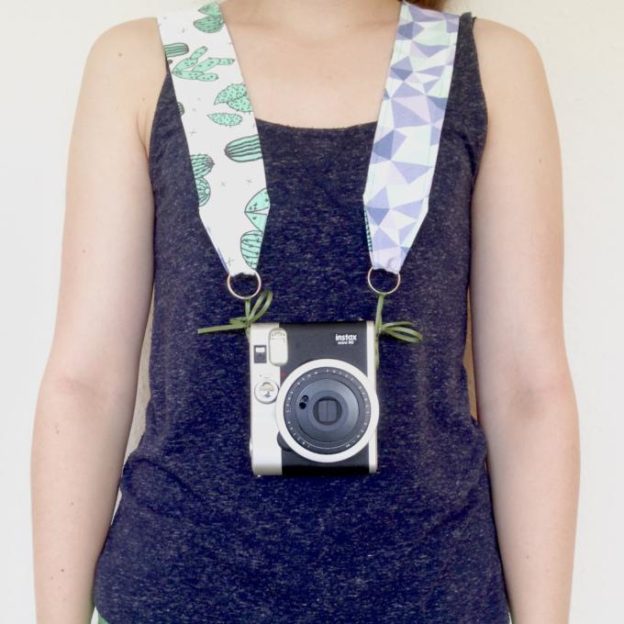
Summer's here and it's holiday time! Make sure your camera is always at hand with a beautiful custom camera strap. All you need is....
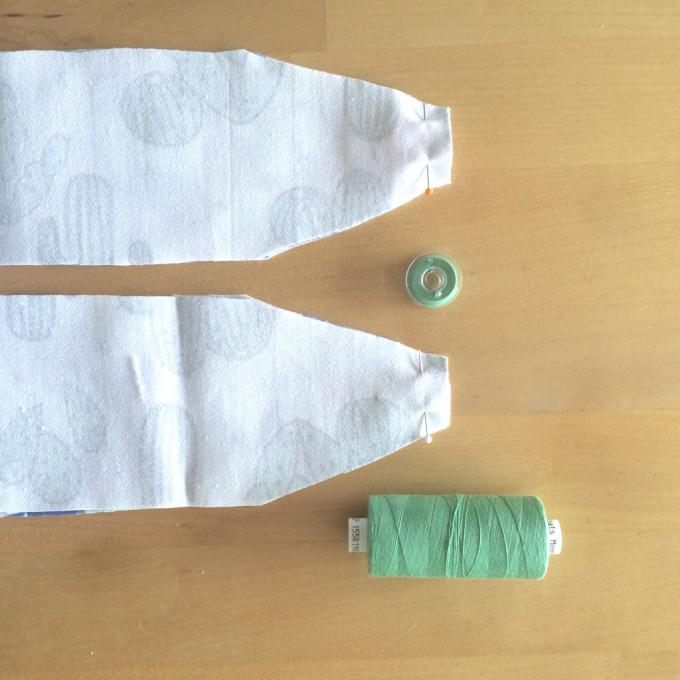
- 2 strips of cotton drill fabric, each 3" x 41" (7.5cm x 104cm). We're using the left-over fabric from our fabric basket tutorial: geometric print from Tarynosaurus, and cactus print from Andrea Lauren.
- Coordinating thread
- Scissors
- 2 keyring loops
- 2 pieces of thin ribbon - you can even re-purpose the ones you find sewn into the shoulders of t-shirts and jumpers to keep them on the hanger.

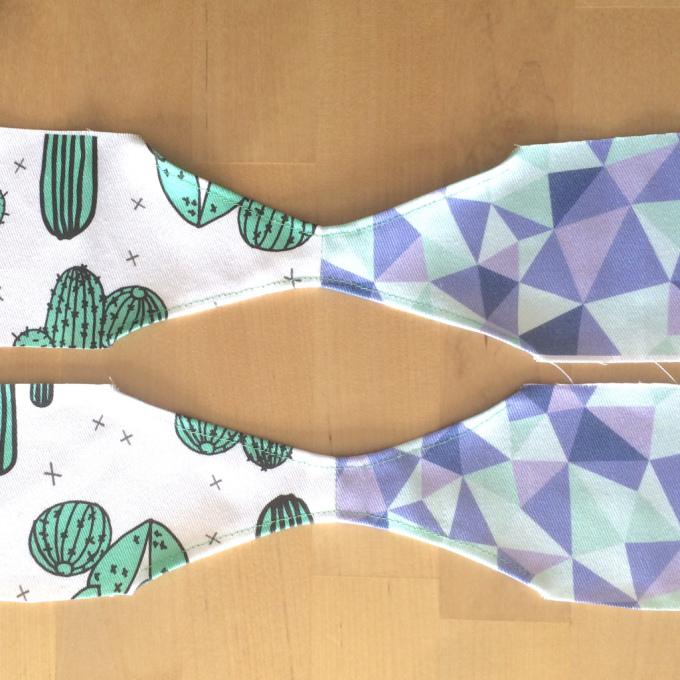
First, lay your pieces of fabric with patterned ('right') sides together. Using your scissors, slightly taper each end to approx. 1" (2.5cm) wide, and pin across this short edge. Sew in place.
Once you've sewn across these short edges, open them out and press the seam allowances flat.
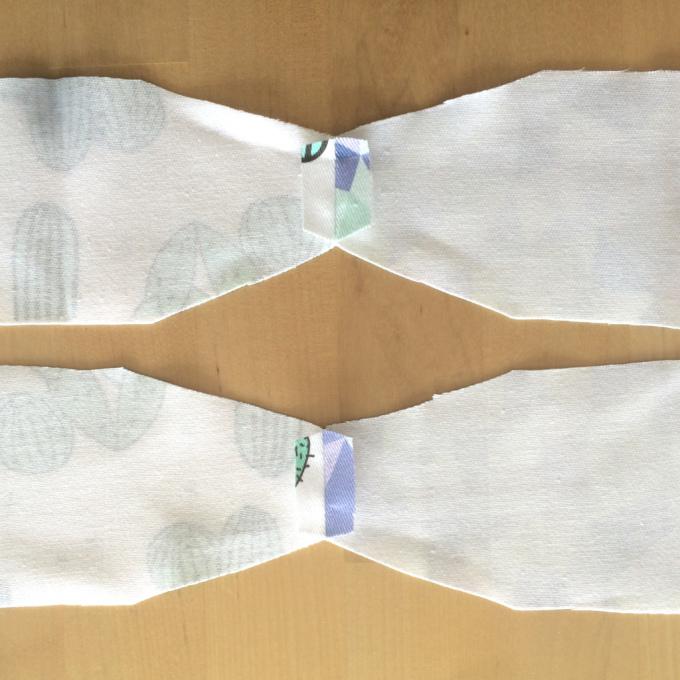
Fold the diagonal edges in by about 5mm, and pin in place.
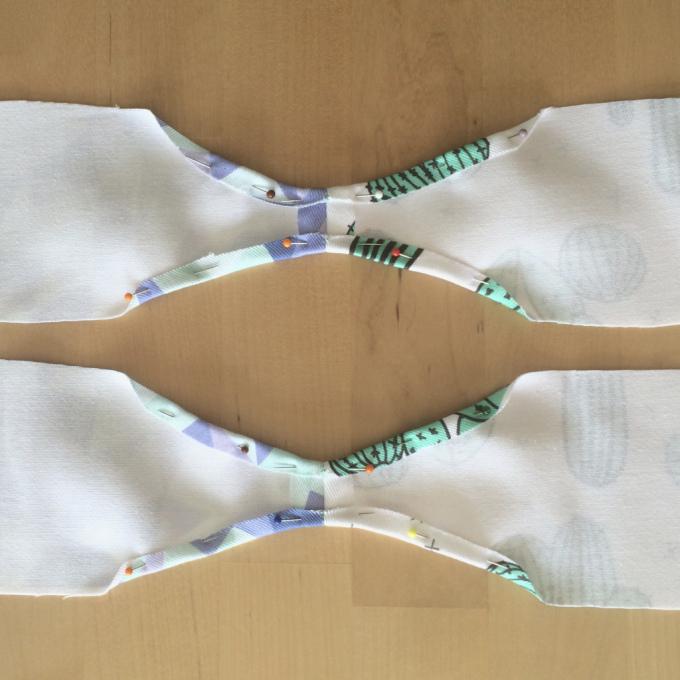
Stitch down these folded edges, removing your pins as you go.
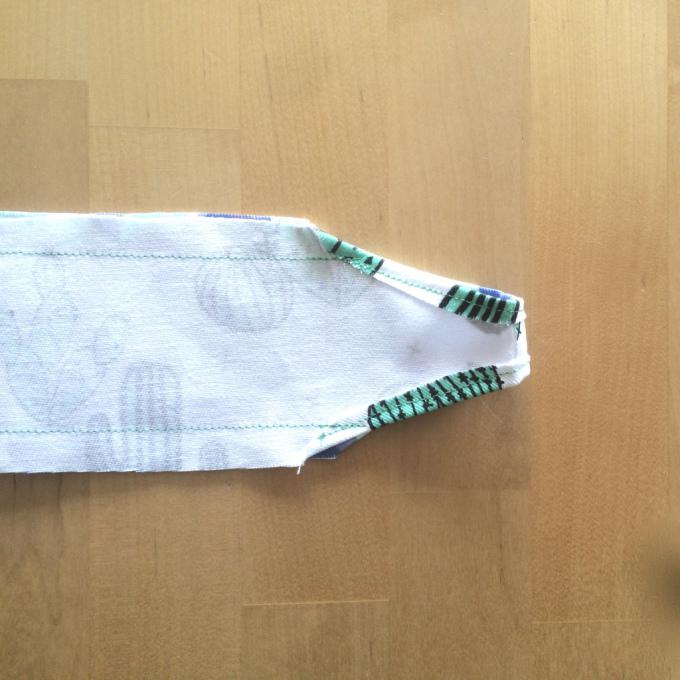
Fold your piece in half so the right sides of the fabric are facing once again. Stitch down the long straight edges, until you reach the diagonal stitching from the last step. Once you're finished it should look like this:
Turn your strap the right way round (this step is a bit fiddly!), and press flat.

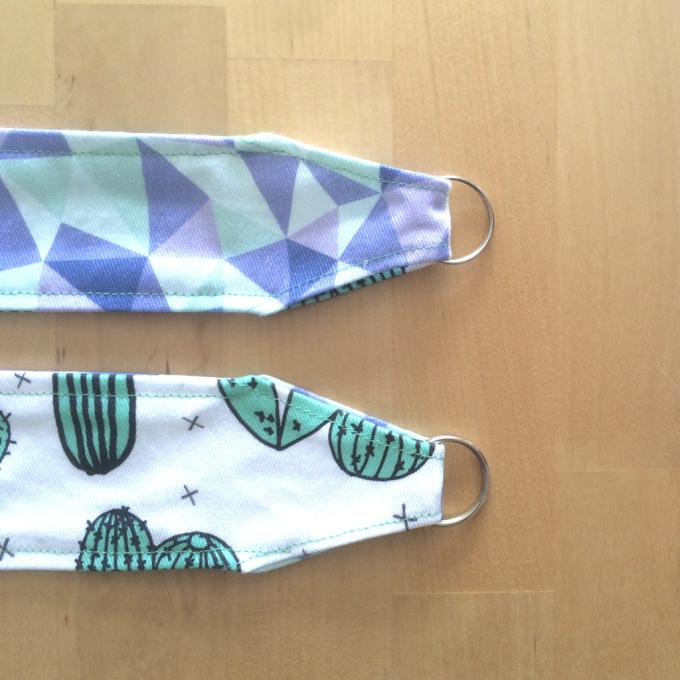
Topstitch the long edges of your camera strap to keep everything in place, and slip one keyring rings onto each end.
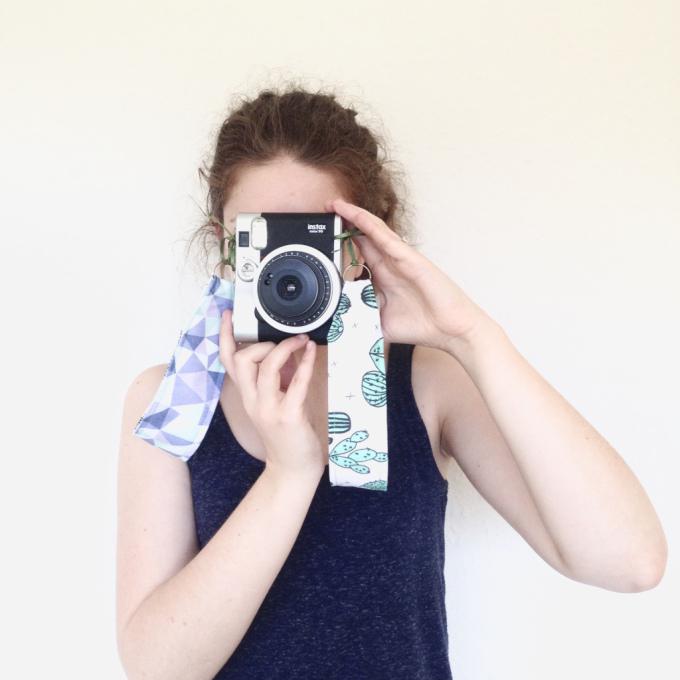
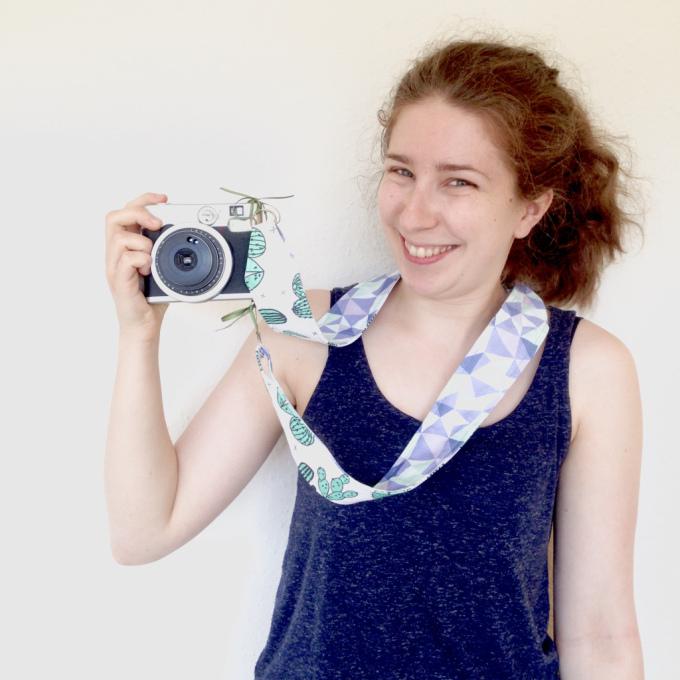
Using a cow hitch knot (who knew it had a name?! There's even a Wikipedia page all about it), attach your ribbons to your rings and then tie them safely to the strap loops on your camera.
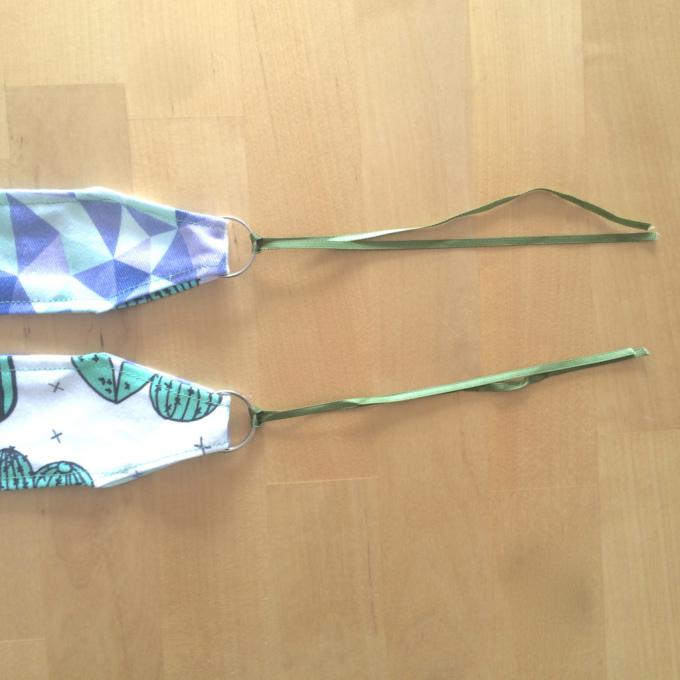
Ta da!

Want to hear more about our great fabrics? Check out our fabric guide page. Want to chat to one of our experts? Let’s chat.