


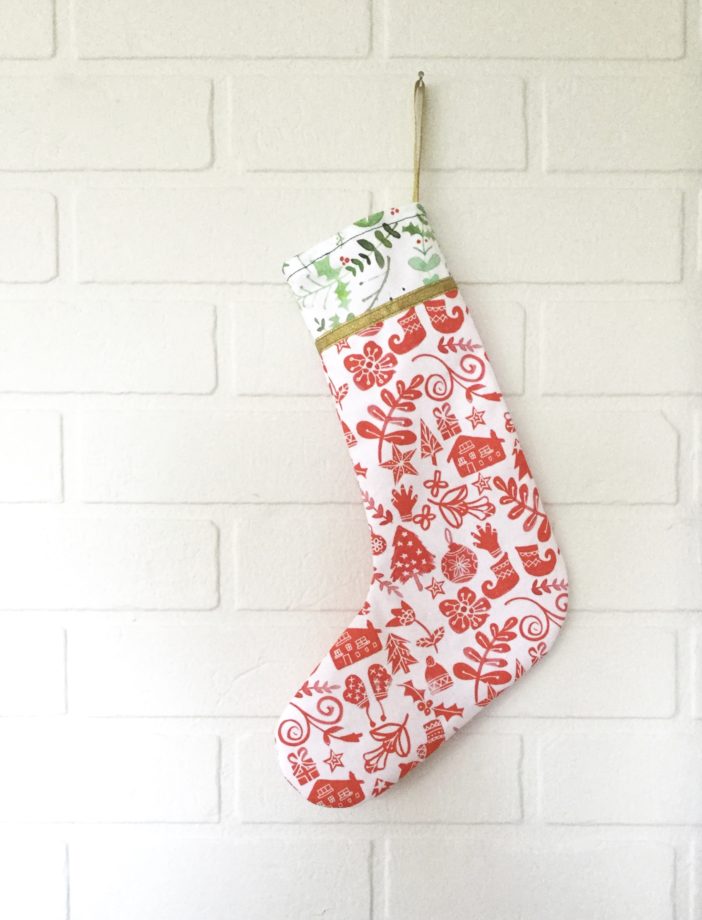
Hello! Today we're going to be preparing for a magical handmade Christmas by making Scandi inspired Christmas stockings. They're perfect for beginners, and you can even hand sew them if you don't have a sewing machine.
We've made 2 variations using beautiful designs by Emma Allard Smith. You can order your own on a choice of 6 fabrics! The construction for both variations is identical, so we'll show them both together.
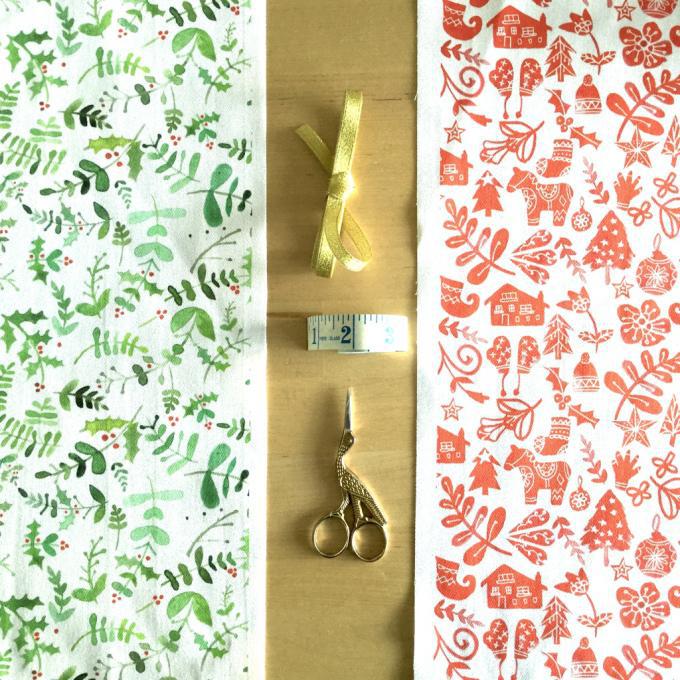
Supplies (variation 1):
- 1 fat quarter of Red Scandi Christmas fabric
- 1 fat quarter of Christmas foliage fabric
- 20cm (approx. 8") gold ribbon per stocking
- Scissors
- Pins
- White thread
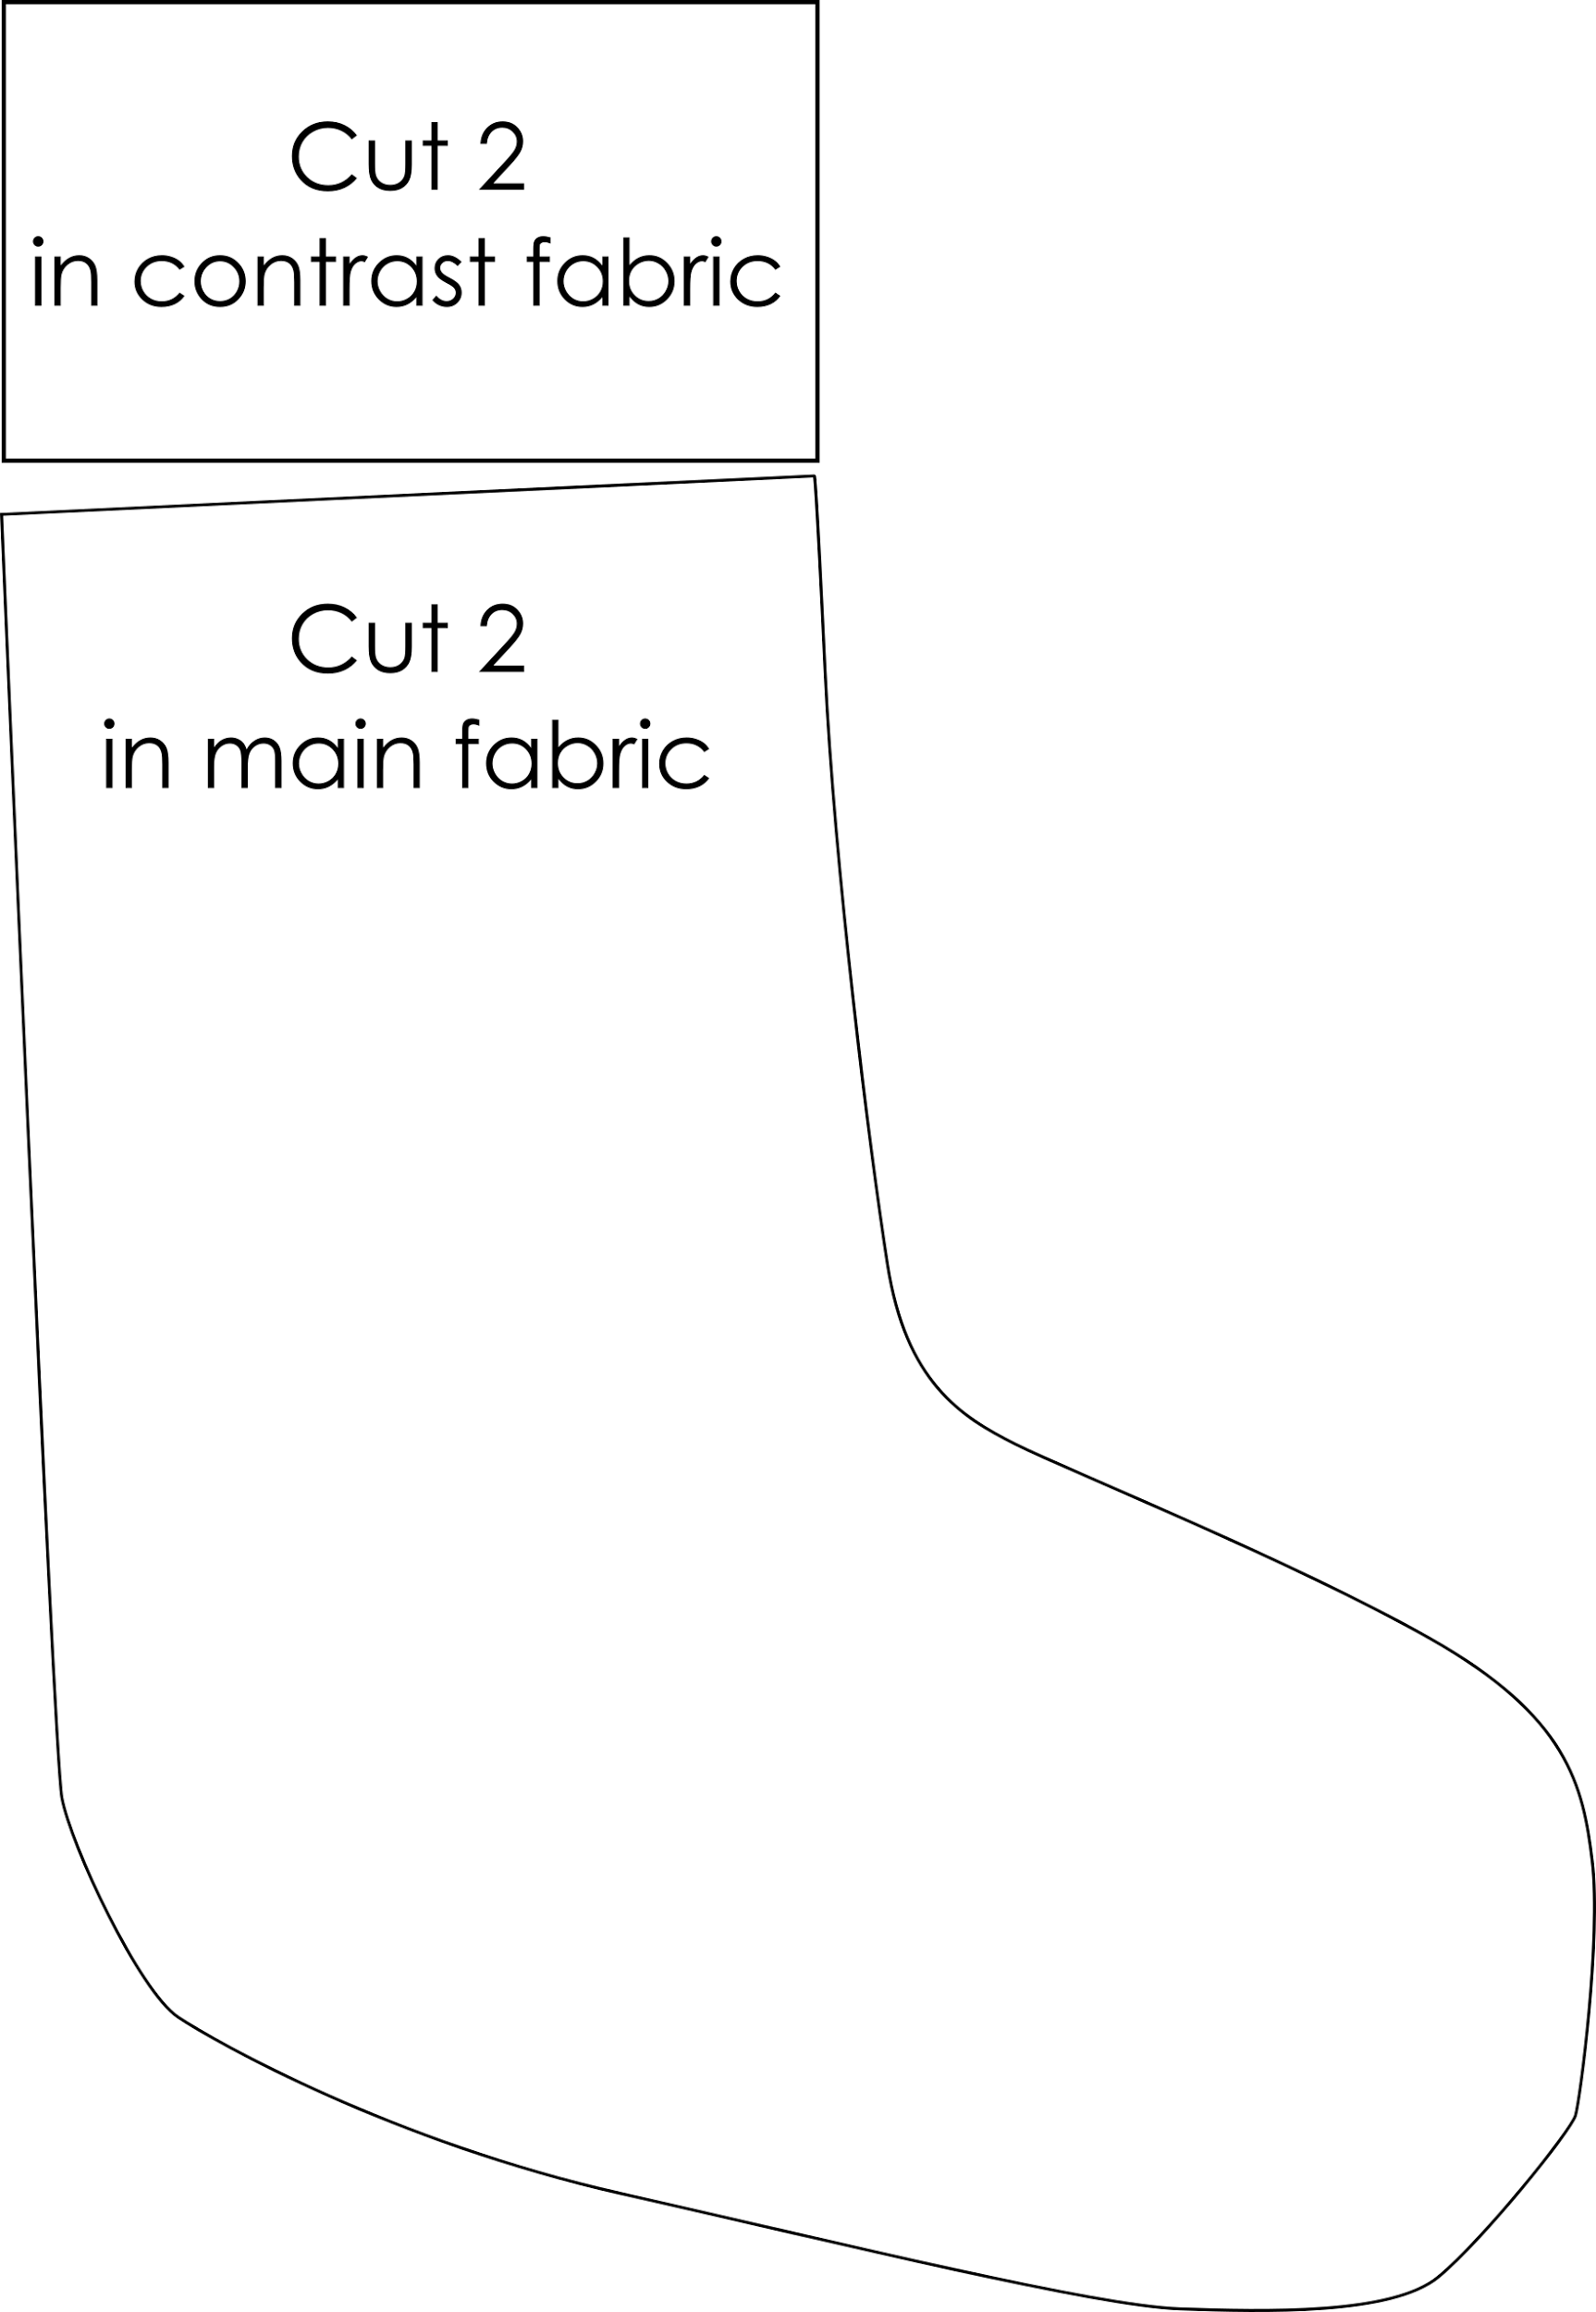
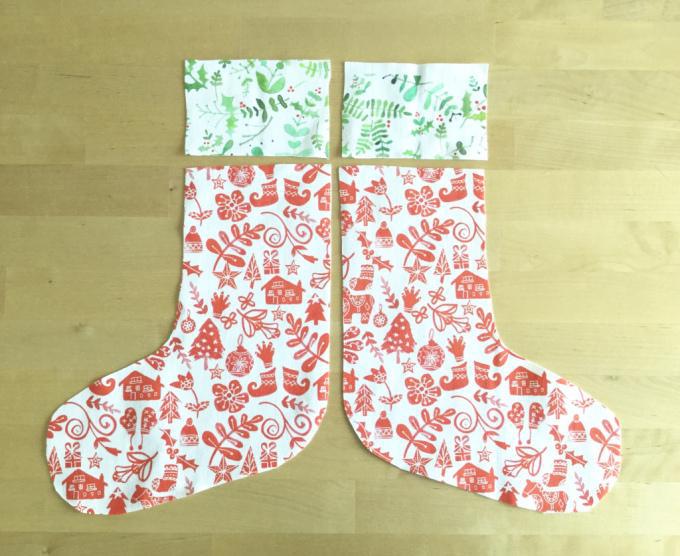
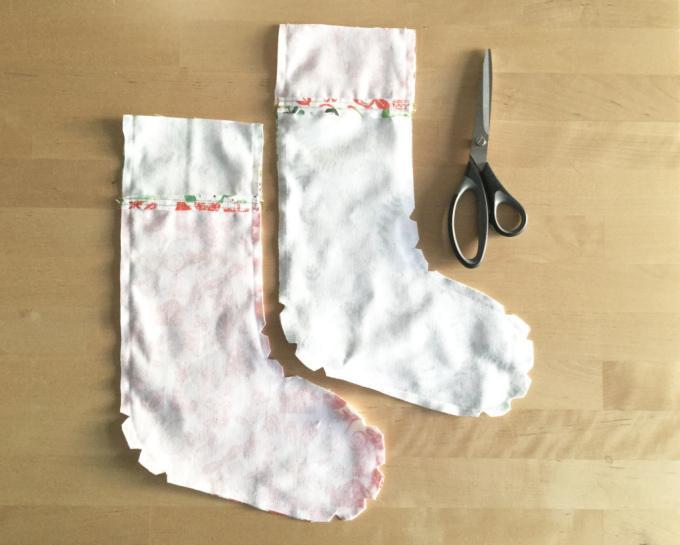
Cut out your stocking pieces. Each stocking is made from 4 pieces; two pieces for the cuff, and two pieces for the foot. Here's the template we used; to make stockings the same size as ours just print this off onto a piece of A4 paper. You can increase or decrease the size of the template to make tiny or giant versions, but make sure you have enough fabric!
When cutting out the stockings, make sure you reverse the template for the second part of the foot so you have symmetrical pieces. Here we have enough pieces to make one red stocking with contrast green cuff, and one green stocking with contrast red cuff:
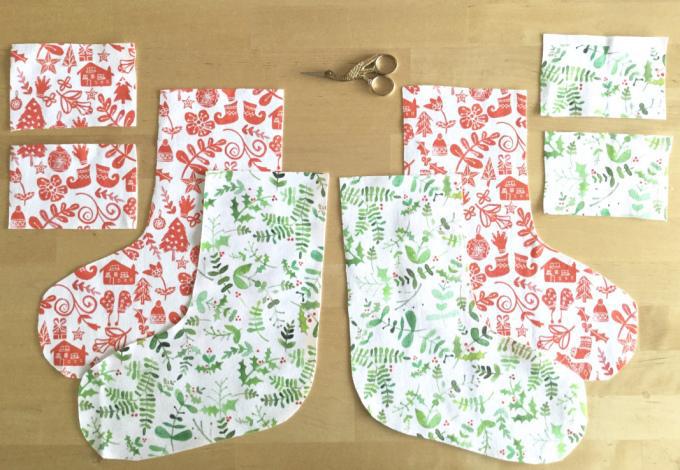
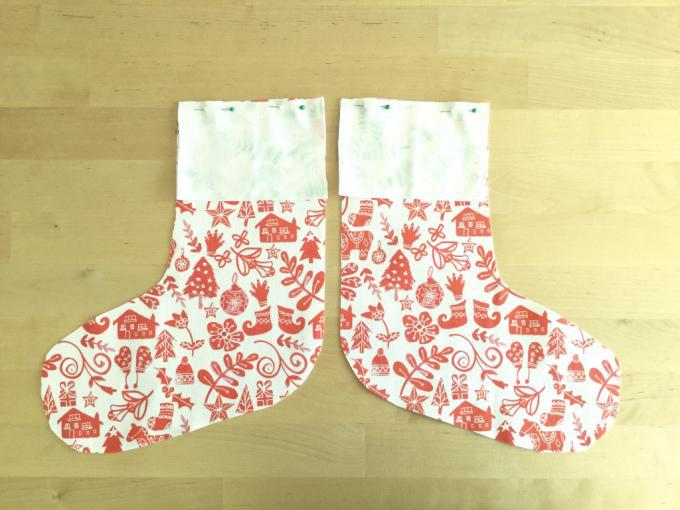
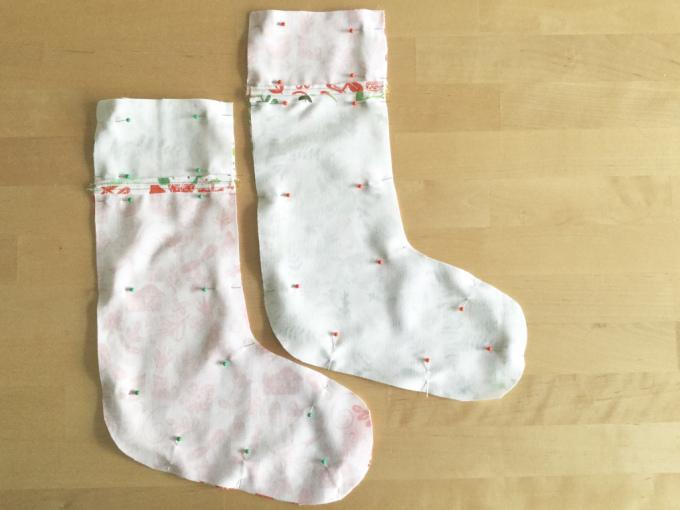
Place your 'feet' on your work surface with contrast cuffs above them. If you're using a directional print, this is the time to check it's the right way up. Luckily for us, this Christmas foliage can go any way up!
Place the cuff pieces face-down on the feet , and pin in place. Sew with a 1cm (2/5") seam allowance:
Trim down any excess seam allowance and press open your seams (left, below). Turn each piece over and pin a piece of gold ribbon across the seam (right, below). Using a neutral shade of thread, stitch the ribbon in place. Repeat for the second side of your stocking.
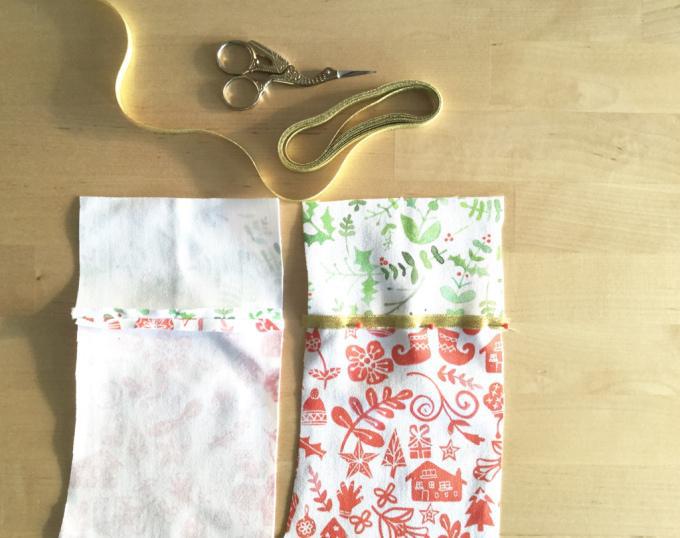
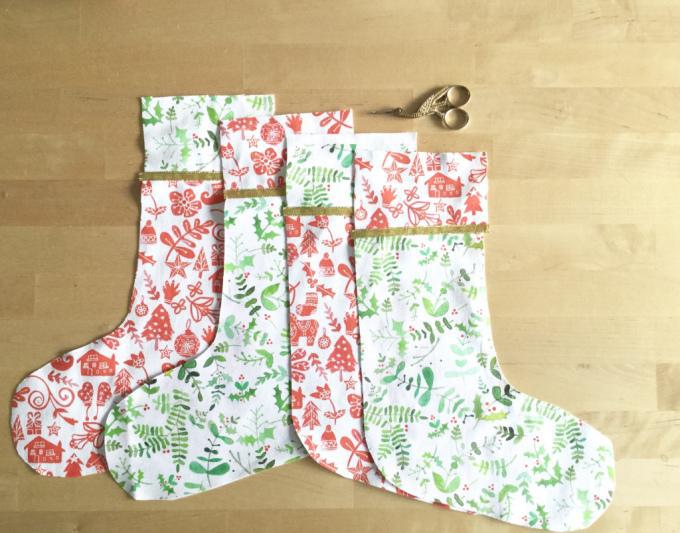
How great do the stocking pieces look with their gold thread? Now we're ready for the construction.
Place your red stocking pieces face-to-face (or right sides together). Do the same with your green stocking, and pin in place.
Sew around your pinned edges, making sure you leave the top open (for obvious reasons!). Clip small notches around the corners of your stockings (see below). Be careful not to snip your line of stitching!
Turn your stockings the right way round, and fold the top edge inwards twice. Pin in place, and carefully sew using a festive thread. We've used red and green!
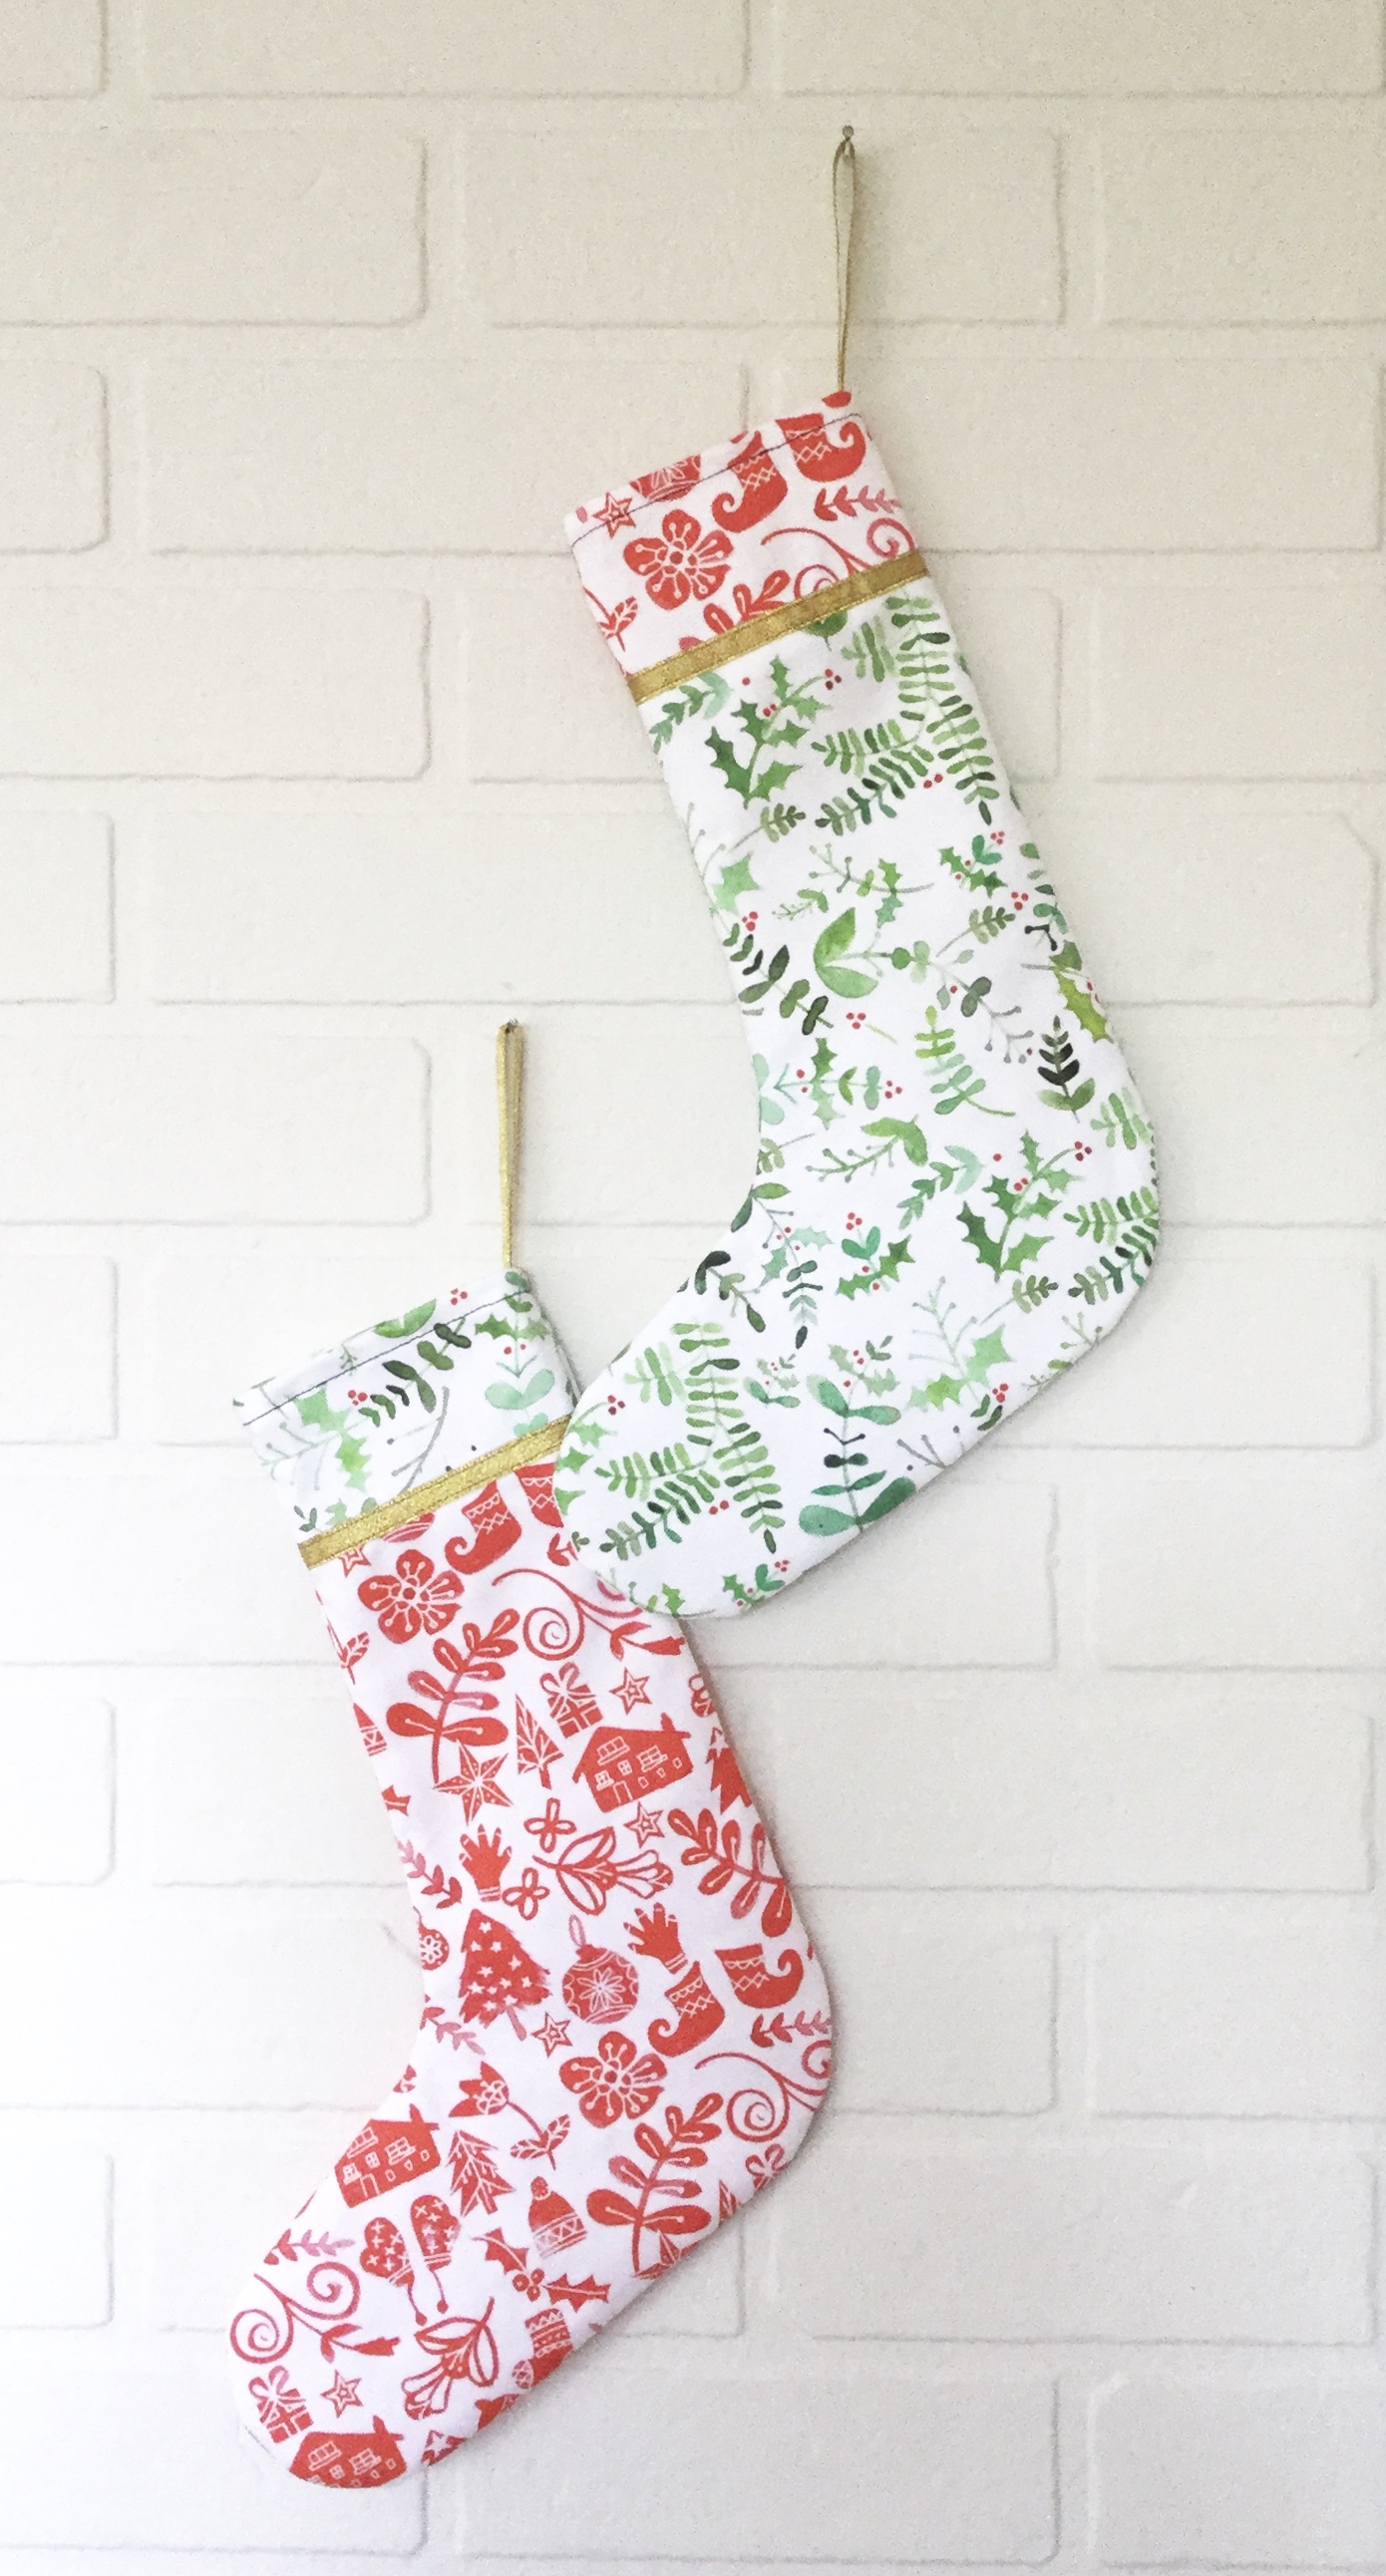
If you want to be able to hang your stockings up, add a loop of gold ribbon at this stage:

Hang your stockings up and wait for Santa to fill them with lots of presents!
Want to hear more about our great fabrics? Check out our fabric guide page. Want to chat to one of our experts? Let’s chat.