


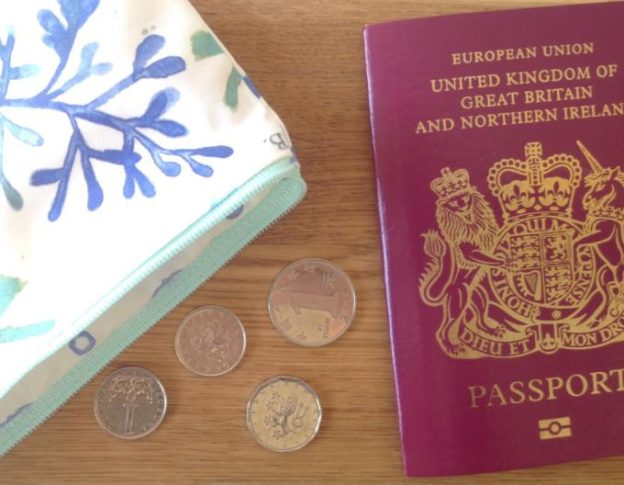
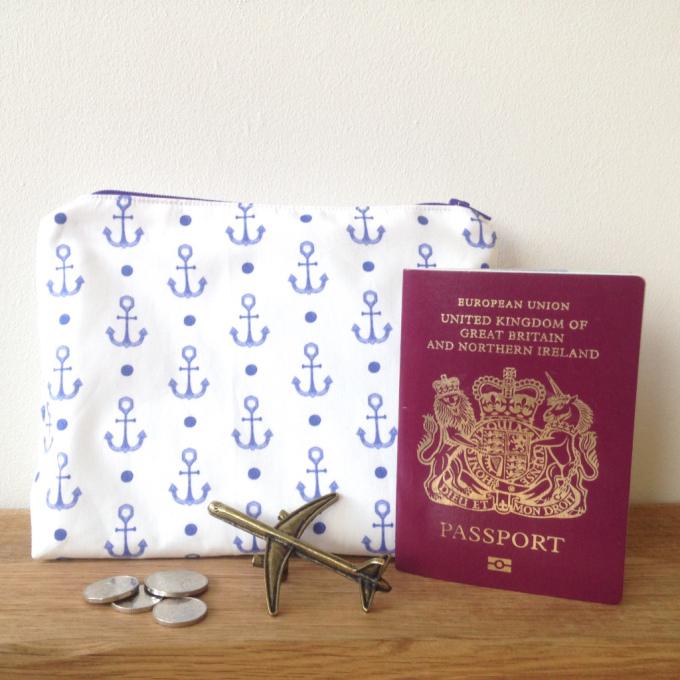
Hi everyone! It's that time of year - the sun is starting to shine (sometimes!), and the summer holidays are getting closer. Have you started to think about your packing list yet? These zip pouches are super handy and can be used to carry everything from your passport and tickets, to your toiletries and sunglasses!
The best part is they're really easy to make - here's how:
Prepare your fabric. I chose a nautical theme, with two prints from the Woven Monkey shop. You can find the anchors (by DARSdesigns) here and the kelp (by Rachel Grant) here. Aren't they perfect for summer?! I used cotton poplin, but if you'd like your bags to be more hard-wearing I'd recommend the cotton drill. Make sure you pre-wash and iron your fabric, and then you're ready to go!
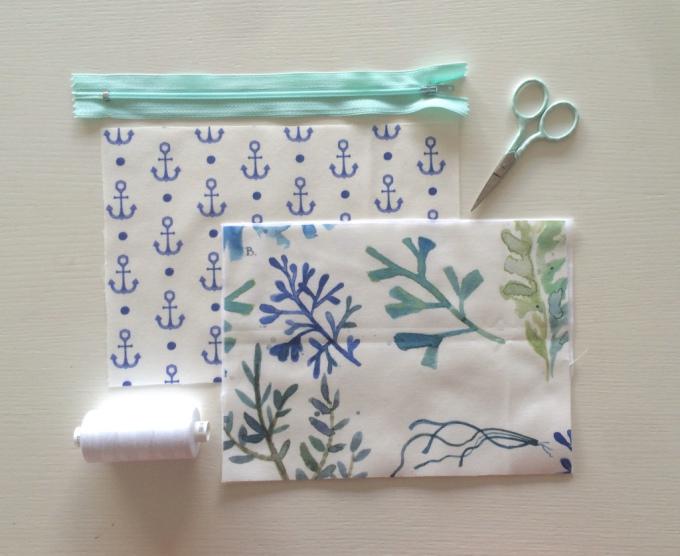
2) Cut your fabric. You'll need two rectangles in your outer fabric (I chose the kelp), and two in your lining fabric (I chose the anchors). The size is completely up to you.
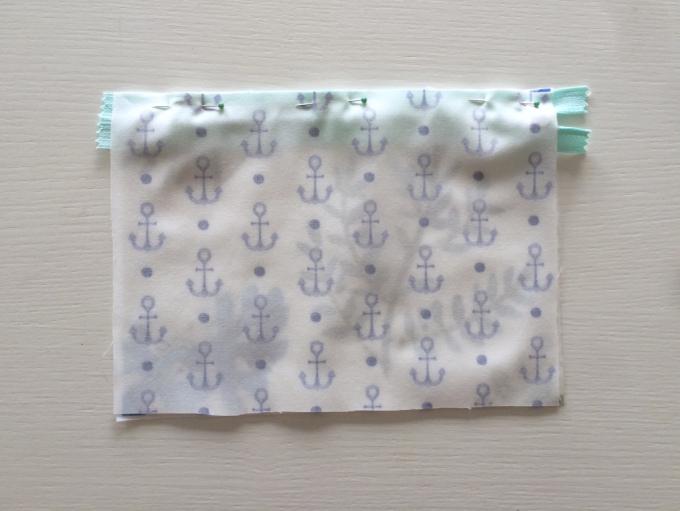
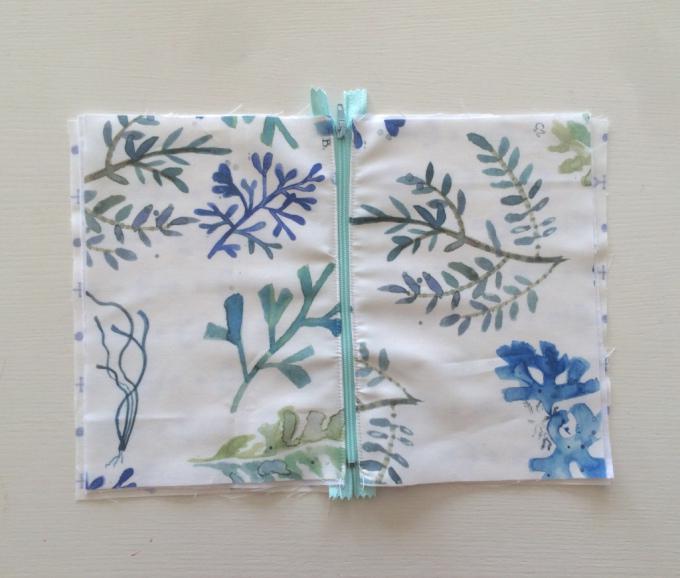
3) Lay one piece of your outer fabric right side up on the table. Place your zip face down on it, lined up with the edge of the fabric. Place one piece of lining fabric right side down on top, once again lining up the top edge, and pin all three layers in place.
You can see the finished 'sandwich' above, and if you open it up it should look like this:
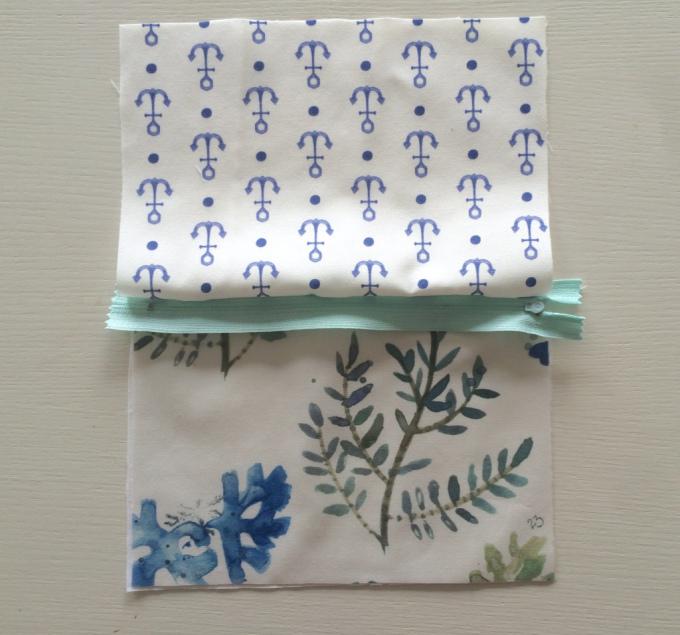
4) It's not as complicated as it sounds, I promise! Once you're happy with your pinning, sew as close as you can to the zip. Using a zipper foot on your sewing machine will help, but it's by no means essential so don't worry if you don't have one. Repeat this process with your final two pieces of fabric on the other side of the zip, so it looks a bit like a flappy butterfly with a zip for a body!
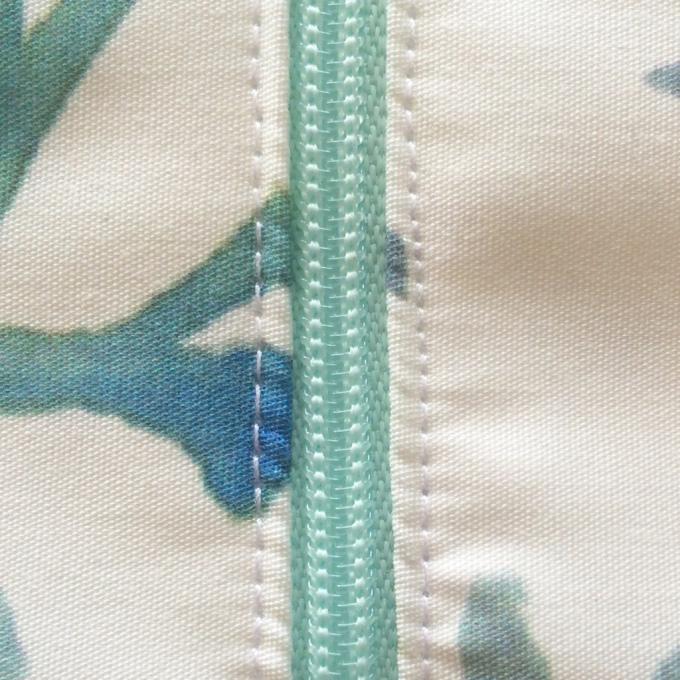
4a) For bonus points, you can carefully topstitch your fabric on both sides close to the zip, to keep everything in place:
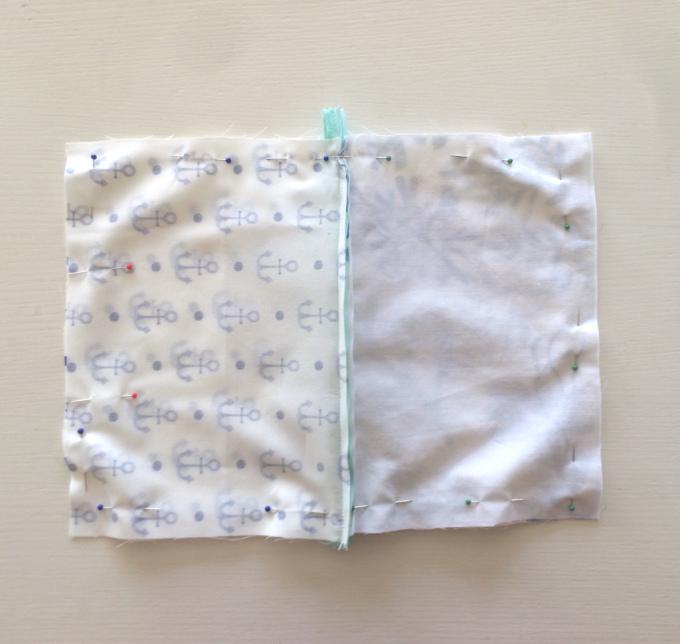
5) Fold the right sides of your outer fabric together (so they're face to face), and do the same with your lining fabric. Pin in place, and take a look at the photo below to make sure yours is looking similar. Sew all the way around the outside of your fabric, but leave a gap at the bottom of the lining (i.e. between the two red pins in the picture below).
6) Pull your pouch through the hole you left, turn the pouch the right way round, and either machine or hand stitch the hole shut. Give your zipper pouch a quick press, and you're good to go!
6a) If you're loved making this simple zip pouch and fancy trying your hand at something more advanced, stay tuned for our next tutorial, in which we'll be showing you how to make a triangular prism zip bag:
Want to hear more about our great fabrics? Check out our fabric guide page. Want to chat to one of our experts? Let’s chat.