


Hello again! This month we're making a DIY wrap top, which is perfect for summer - just throw it on with a pair of shorts and you're good to go!
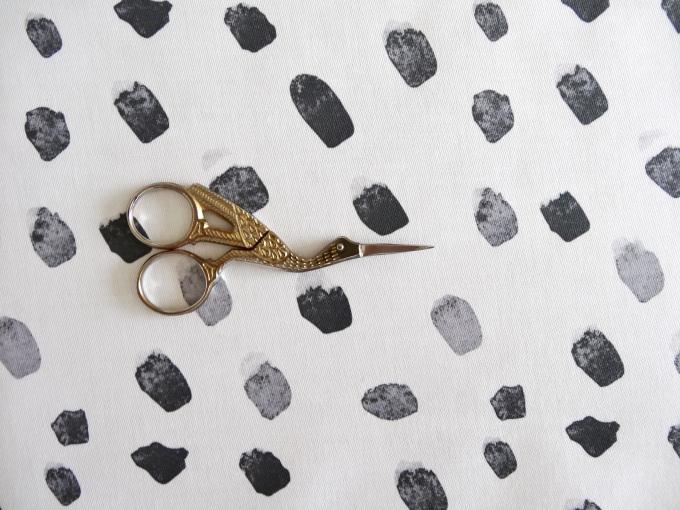
First things first: choosing your fabric. We've chosen this on-trend 'monochrome dabs' design from Allie and Bird, and we've printed it on cotton sateen. This is a great fabric choice for prints with a white background when you're going to be making clothing - it has a high thread count and is soft to the touch so it's not too sheer and feels great to wear!
Once you've got your fabric, you'll need to pre-wash it to make sure that if it's going to shrink at all, it does it before you've made your item. The cotton sateen we're using here has a maximum shrinkage of 4% which is pretty small, but it's still a good idea to pre-wash it anyway.
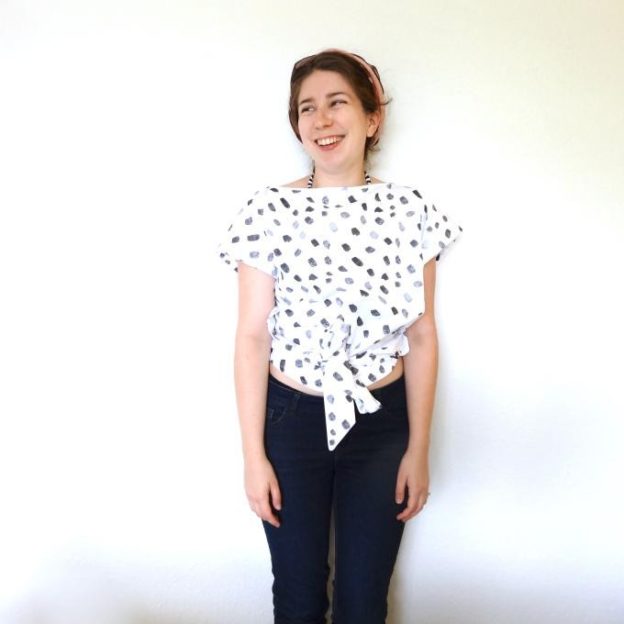
Now, time to start cutting! A top like this is really easy to adapt for your specific shape or size. In this tutorial we'll be using the measurements to make a top for Becky, who you'll see modelling it a while later, but feel free to alter the measurements of the body piece if you're significantly taller/shorter than 5'4", or if your waist size is significantly larger/smaller than 27".
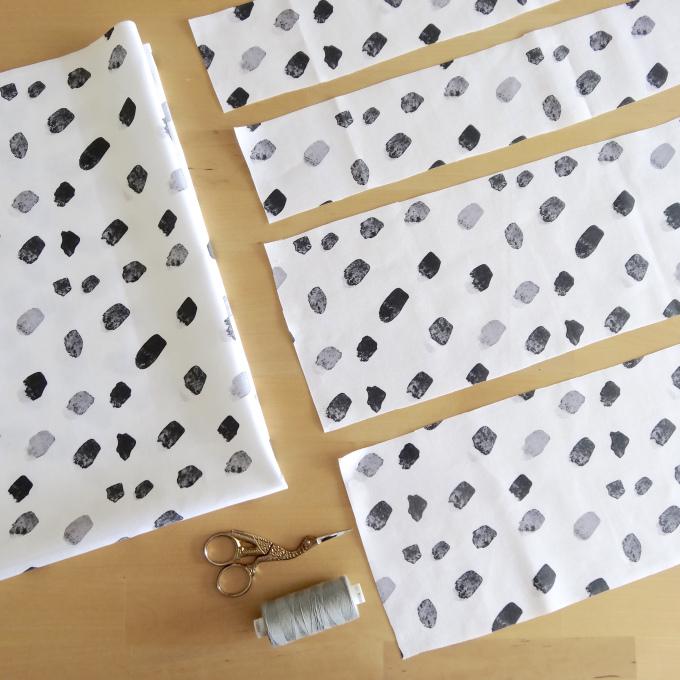
For this top we cut the following rectangles:
- Cut two: 22" x 5" front ties (approx. 55cm x 13cm)
- Cut two: 20" x 2.5" back ties (approx. 50cm x 6.5cm)
- Cut one: 45" x 27" body piece (approx. 115cm x 70cm)
- For example, if you'd like your top to be longer than the one we're making here, add a few inches to the longest dimension of the body piece.
- If you'd like to change the waist size of your top, add a few inches to the shortest dimension of the body piece.
- The length of the front and back ties should stay the same, no matter what size you're making.
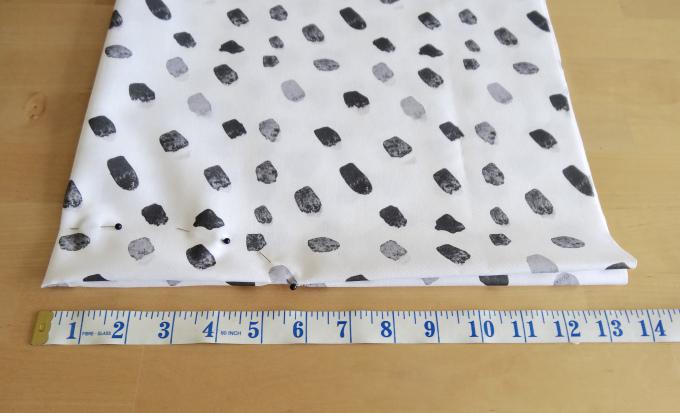
Set your tie pieces aside for the moment, because first we want to find the exact centre point of your body piece. Fold the body piece in half once with unprinted (non-patterned) sides together, then fold in half again. Find the 'centre' corner of the folded fabric, which is shown next to the start of the tape measure in the photo below. We're going to mark where the neck hole needs to be cut.
This isn't an exact science and is a matter of taste, but we're going to cut a wide neck hole. We measured and pinned a curve that's 5.5" x 1.5" (approx. 14cm x 4cm), as you can see below. Take care to make sure that you're marking out the longest measurement along the correct edge (see photo) or you'll end up with a rather saucy V-neck top instead!
Cut along the curve you've just pinned, so you end up with something like this:

Unfold your body piece and ta-da! You have a neck hole!
This is a great time to *very carefully* slip it over your head to check the hole is big enough, taking care not to stretch the newly-cut edge.
Next we'll be finishing the neckline with bias tape. You can either buy a narrow bias tape (16mm would work really well) from your local haberdashery, or you can make your own (like us!) from offcuts of your monochrome dabs fabric. There's a great DIY bias tape tutorial here.
Using a flexible tape measure, and being careful not to stretch out the fabric, measure the circumference of your neck hole. Cut a strip of binding which is about 5cm longer than you think you'll need, open out the fold at both ends and sew them together with a ½” (1.5cm) seam allowance. Press open this seam (so it doesn't create a bulk later), and start pinning your new loop of bias tape to your neck hole with right sides together:
Ease the fabric gently round the corners of the neckline, then sew in place. You should end up with something that looks like this:
Fold the loose edge of the bias binding inwards, over the raw neck edge, and pin in place like this:
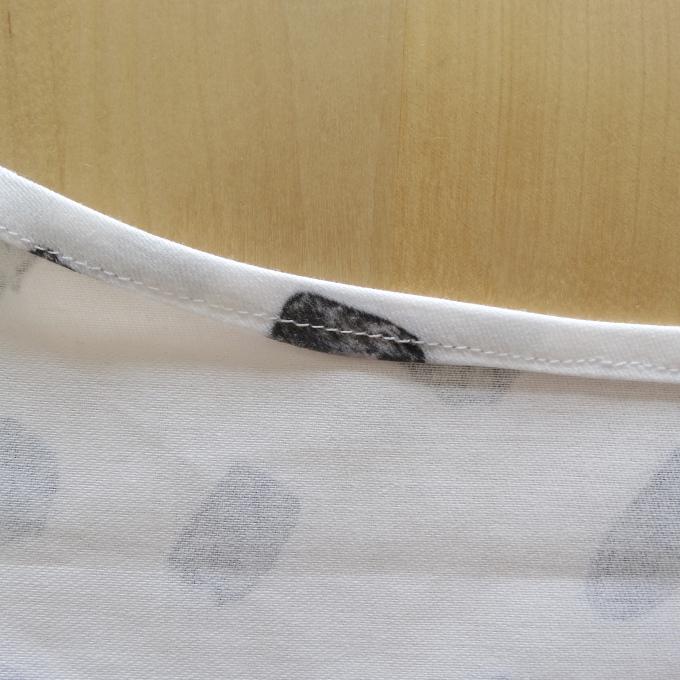
We'll use a 'stitch in the ditch' technique here, to give a really neat finish to the neck. Put your fabric under your sewing machine's presser foot with the 'outside' of your top facing upwards. Very carefully stitch along the seam line where your body piece and bias binding meet (you can see in the photo above that this is where we've pinned). Make sure that you're catching the back of the bias tape in this row of stitching, so the inside of your neck looks something like this:
Phew! That was the most fiddly bit of the wrap top, so take a breath, grab yourself a cup of tea, and let's move on to the ties. Both the front and back ties are made in exactly the same way, so you can apply this method to all four pieces.
First, fold your tie fabric in half lengthways with right sides together. Pin along the raw edges, and if you'd like your ties to have a tapered end (this is purely an aesthetic choice!), snip diagonally across one end:

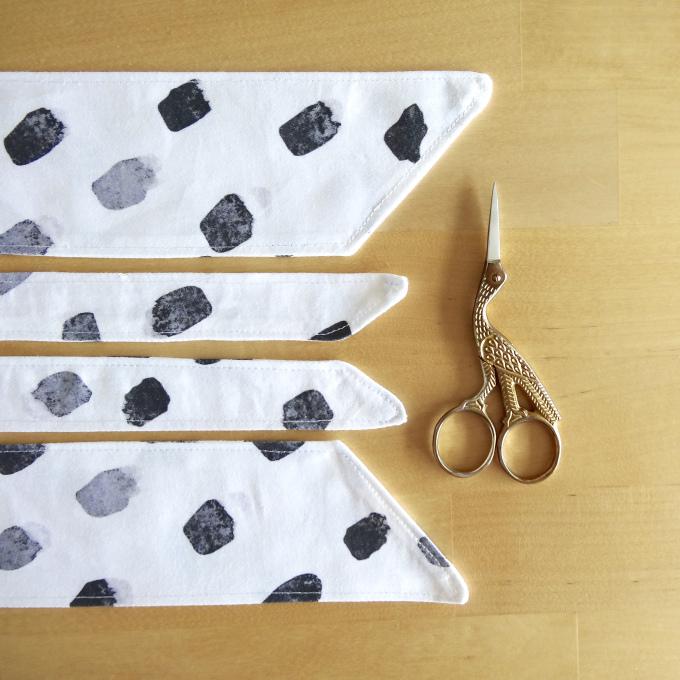
Sew along the edge you've just pinned, tie off the loose ends of your threads, and turn this tube of fabric the right way round. There are special 'turning loops' you can get to help you with this stage, but we find that a knitting needle or long chopstick works just as well.
For bonus points you can topstitch the edges of your ties to keep them looking smart. We just lined up the edge of our sewing machine's presser foot with the edge of each tie, and sewed all the way around:
Now it's time to attach the ties to the top!
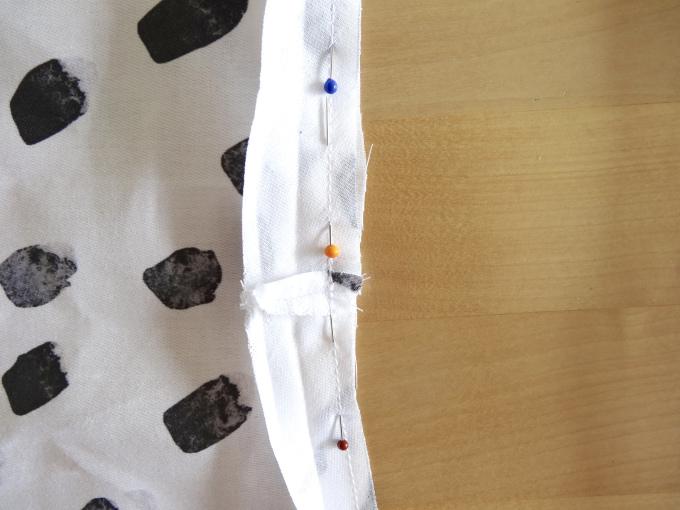
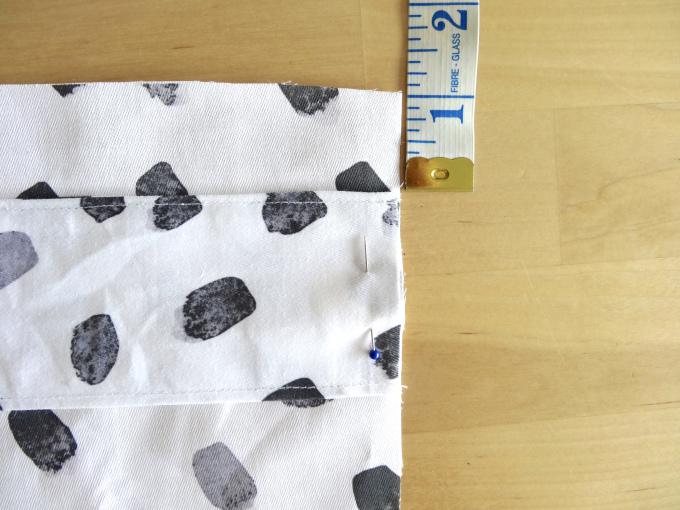
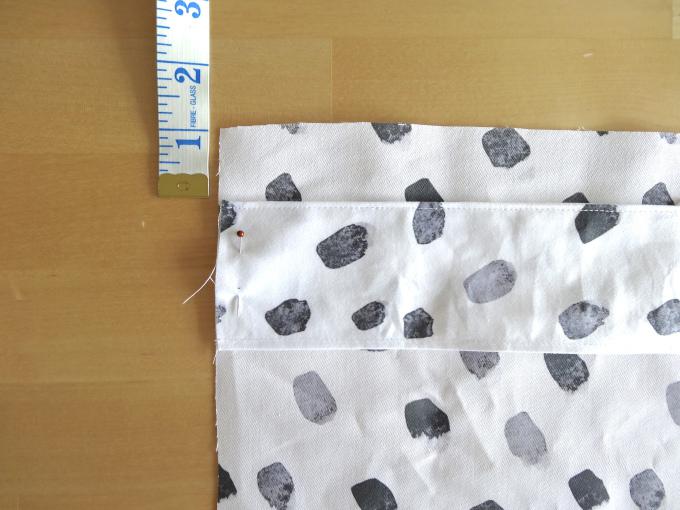
Lie your body fabric out flat on the table (or floor, if that's how you roll). Take the two widest ties. Measure 1" (approx. 2.5cm) down one of the long edges of your body piece, and place one of your ties on top of your body fabric with the raw edge lined up to the long edge of your body piece. It should lie parallel to one of the short edges of the body pieces, and reach almost all the way across. Pin the edge in place:
Repeat this process on the opposite edge - if both the ties are laid out flat across the body piece, they should be on top of one another.
Repeat this process for the two narrower ties at the other end of the body piece, and baste all four ties in place using a longer stitch on your sewing machine and a 5mm seam allowance.
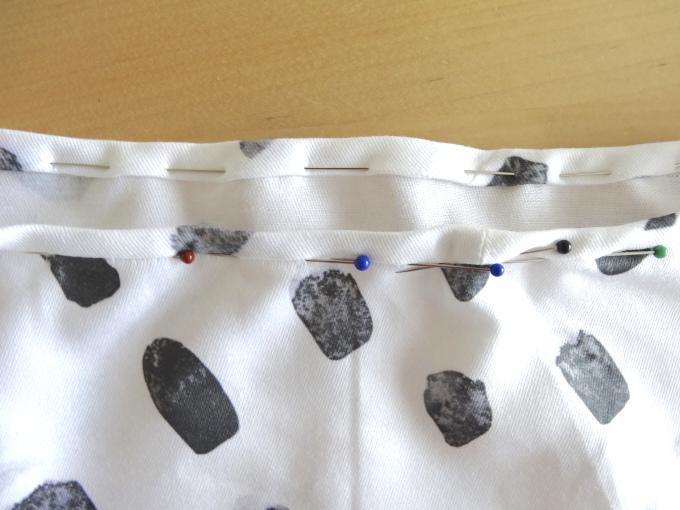
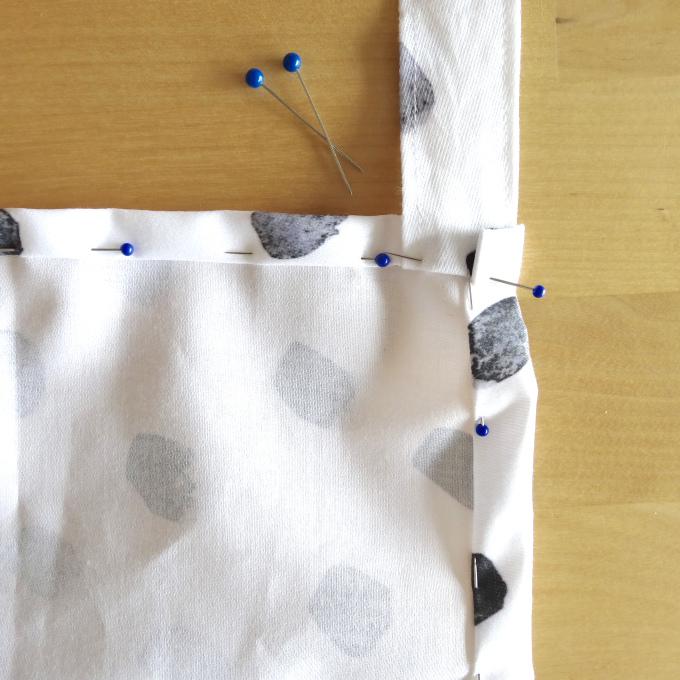
Now it's time to finish the edges of your wrap top! This bit is pretty simple for most of the edges - place your top on the table with the unprinted side facing up, and fold the edge inwards by 1/2", then fold over by 1/2" again. Pin in place.
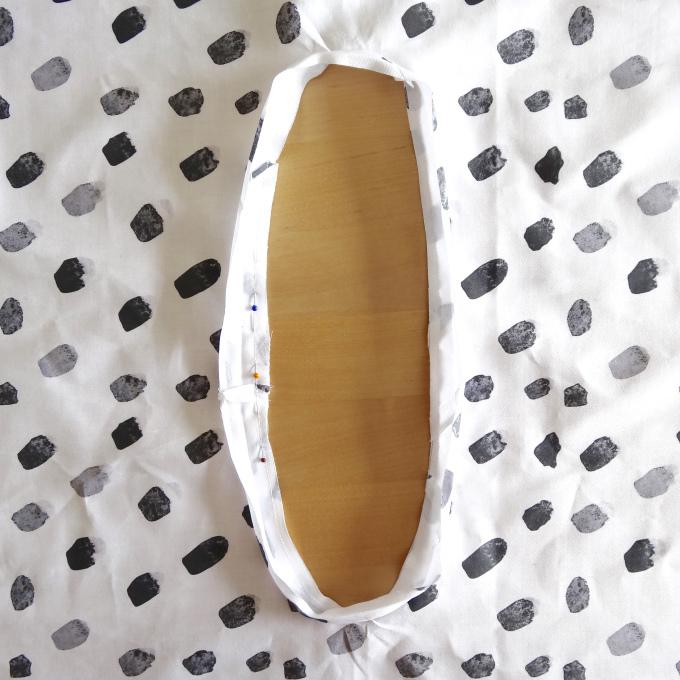
When you get to the corners (where the ties are), fold the ties with the body fabric. It'll be a little bit bulkier to pin here, but it'll make for a really secure tie attachment. If you have something that looks like this, you're on the right track:
Now the fun bit: sewing all the way around your top in a big rectangle!
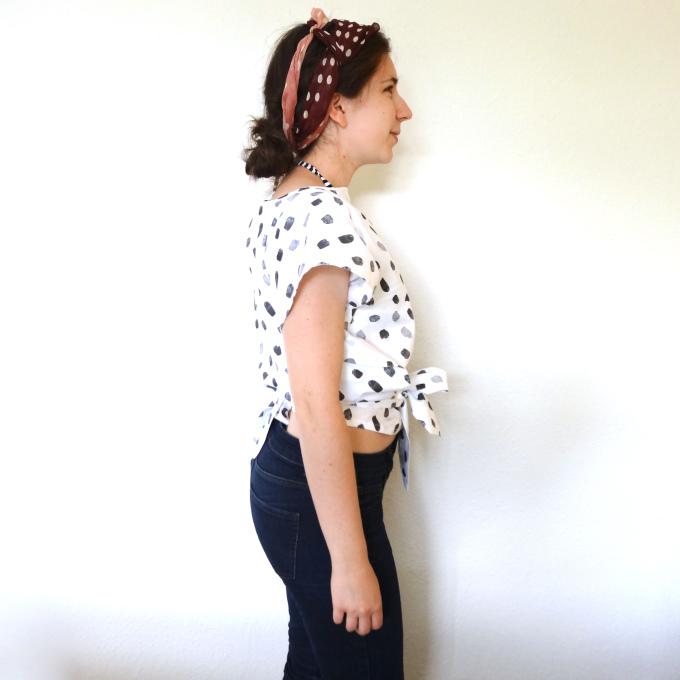
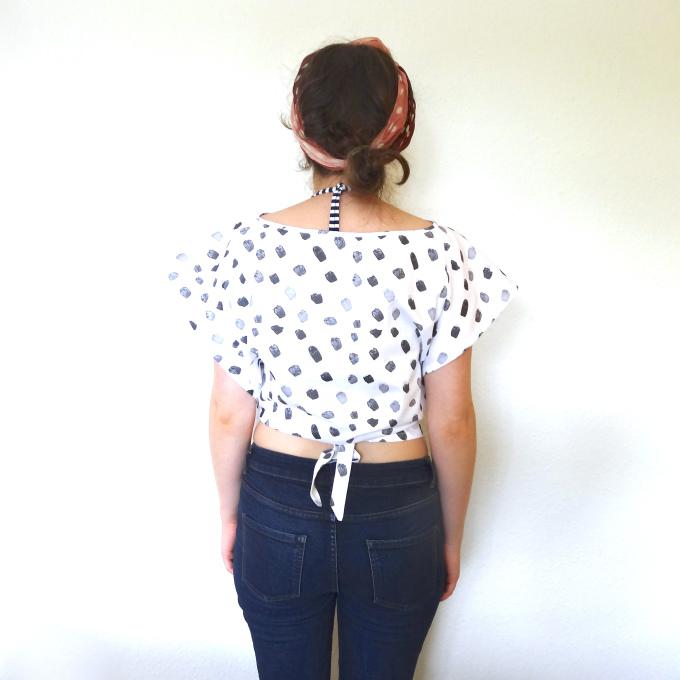
And there you have it! One super chic minimalist wrap top, just crying out for some summer sun.

And just to make sure you don't get yourself in a tangle....here's a video showing how to put it on: Video
Want to hear more about our great fabrics? Check out our fabric guide page. Want to chat to one of our experts? Let’s chat.