


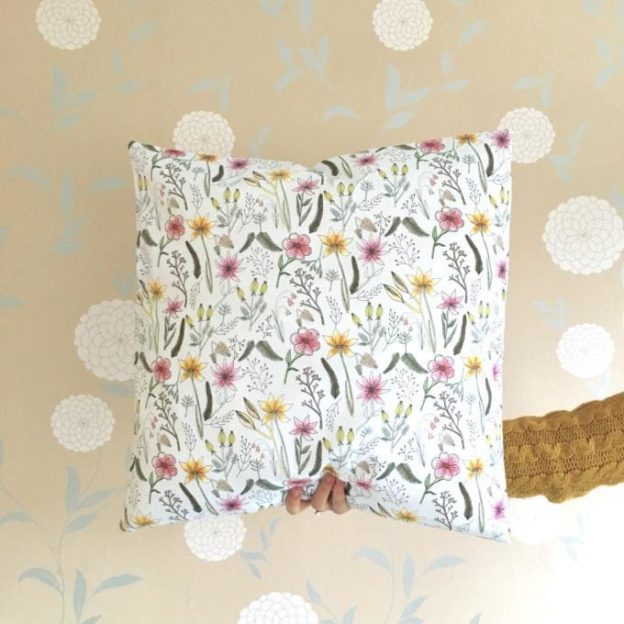
Hello! This month we'll be making a simple envelope-style cushion cover to brighten up your home for Spring. In the Woven Monkey shop we have a design for every home, or why not design your own?
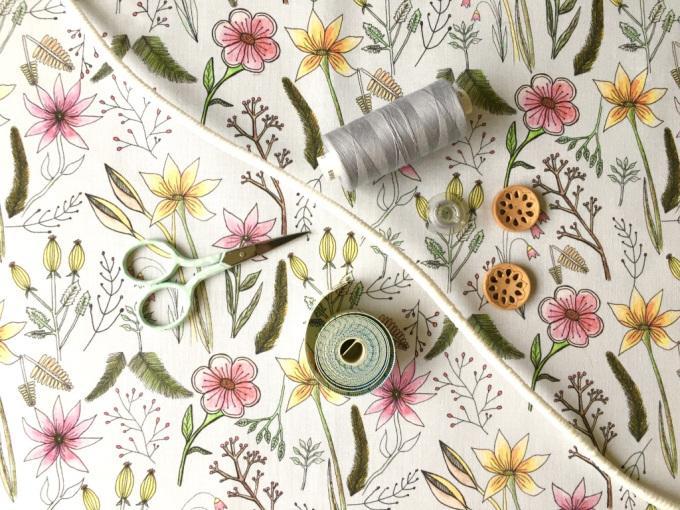
For this tutorial, which will make a cover for a 45cm (approx. 18") square cushion, you'll need the following things:
- 0.5m of your chosen fabric - we're using this beautiful meadow flowers design printed on cotton sateen. Click here to order some for yourself!
- A cushion inner
- Two buttons
- A tape measure
- Scissors
- Pins
- Thread
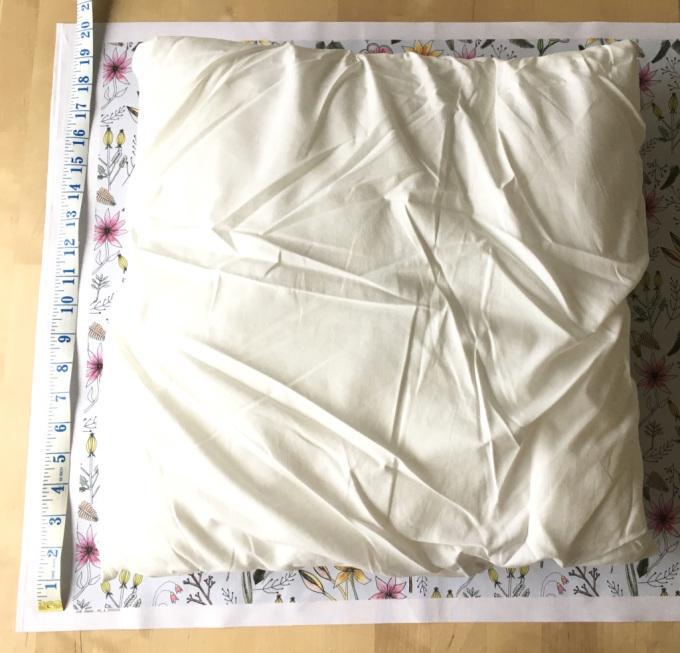
Once you've gathered all your supplies, lay out your fabric on the table. As you can see here, our 45cm (approx. 18") cushion is just a bit narrower than our half-metre of fabric. Perfect! Cut out two 50cm x 50cm (approx. 20" x 20") squares, and cut one of these squares in half, so you're left with three pieces of fabric. The square will become the front of your cushion, and the rectangles will become the back. We've cut the pieces slightly bigger than the cushion to include a generous seam allowance.
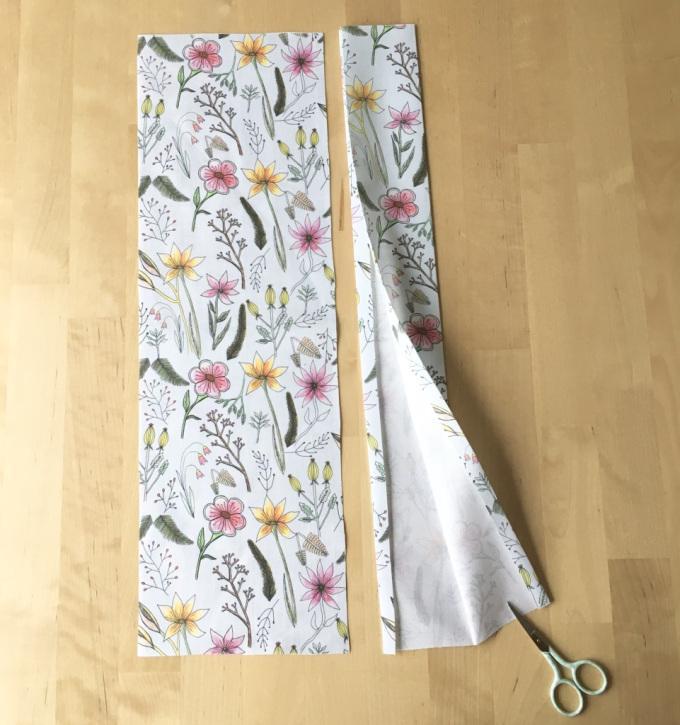
With the remainder of your fabric cut two rectangles which are 50cm x 12cm (approx. 20" x 5"). These will become the overlapping bands on the back of the cover, which will allow us to securely attach buttons and button holes.
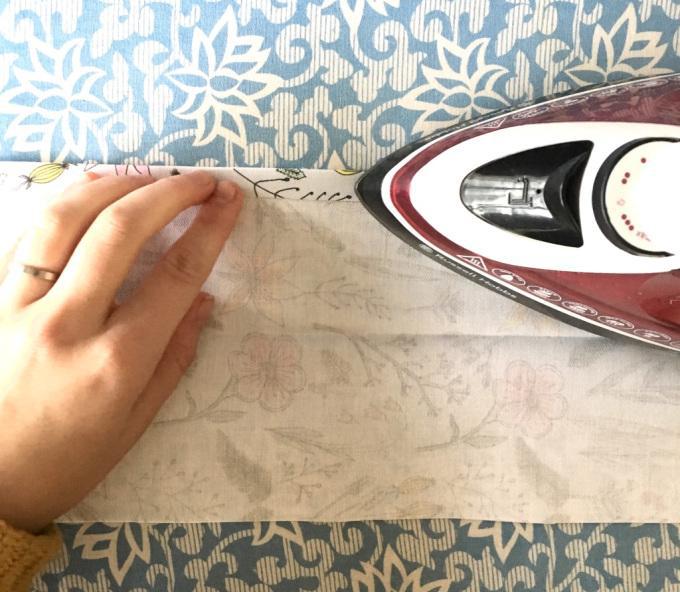
Fold each piece in half and press with a cool iron. Fold under 1cm (approx. 0.4") at each edge, and press again. Your pieces should look like the strip on the right:
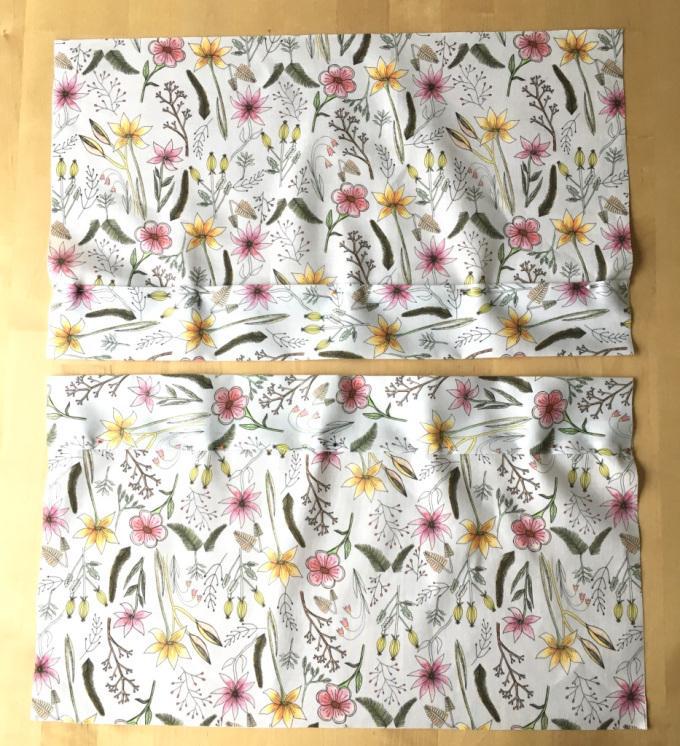
Sandwich the long edge of one of your back rectangles in between the folded edges of the piece you've just pressed, and sew into place with a 0.5cm (approx. 0.2") seam allowance. Repeat for the second back rectangle, so your pieces look like this:
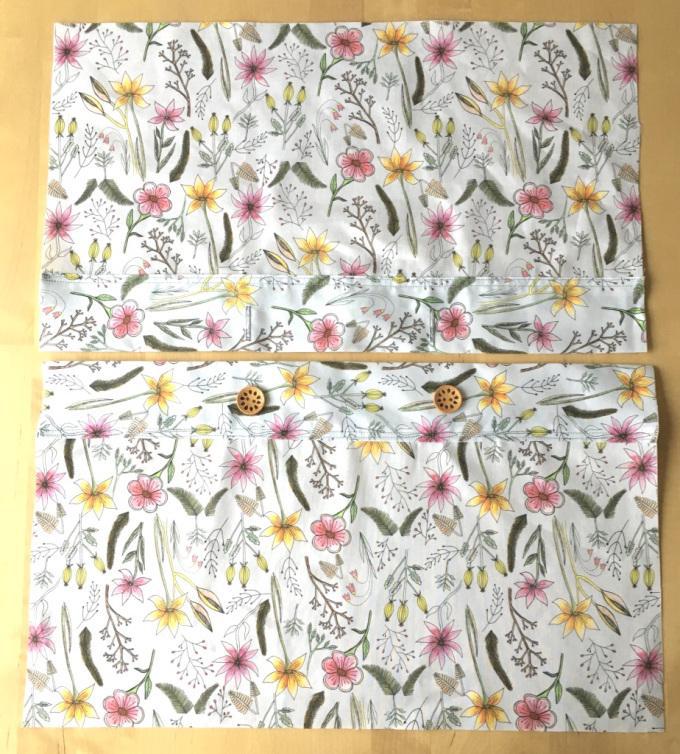
It's fastening time! Mark out where your buttons and buttonholes need to be placed. This may vary on the style of button you choose, but for our cushion cover we spaced them 1/3 and 2/3 of the way along the button band. In the photo below you can see the pins marking where the buttonholes will be:
And here they are after they've been sewed! We used the standard button hole function on our sewing machine, but there are plenty of tutorials online for hand-sewing a buttonhole if you don't have a sewing machine.
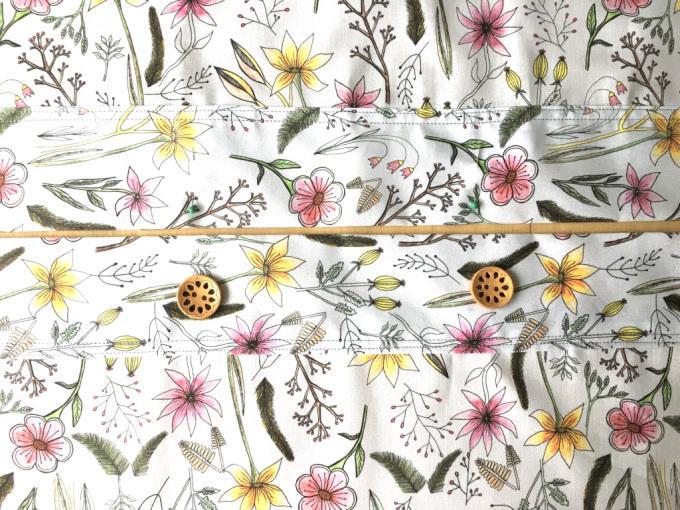
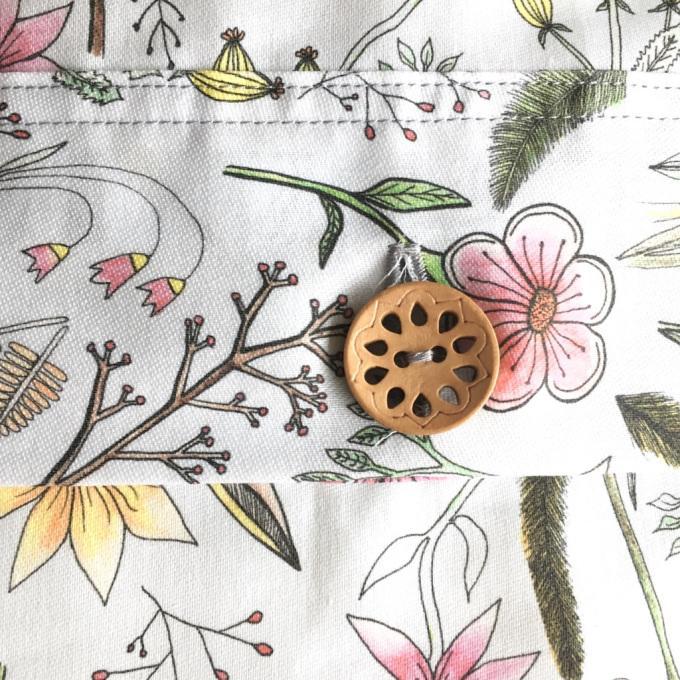
Oooooh, a close up of a beautiful buttonhole! You can also see that we added a second line of topstitching parallel to the edge of the button band - we just love how it looks!
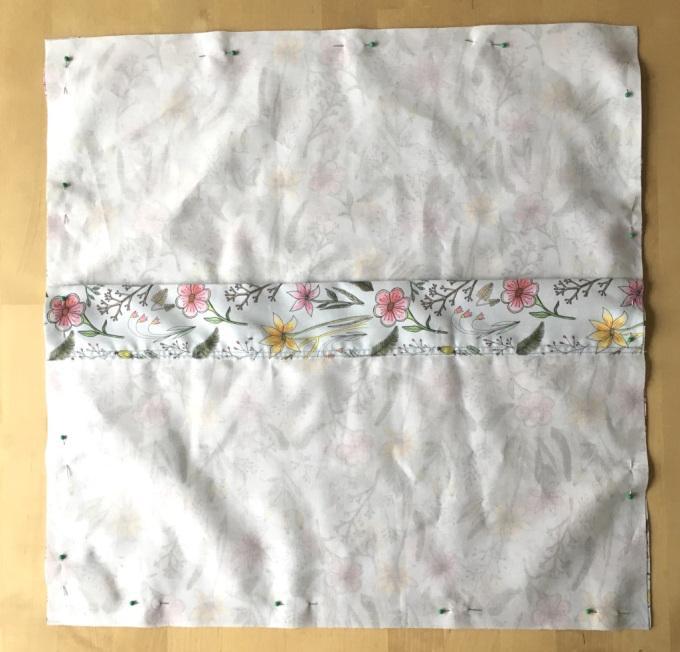
Now it's time to construct the cushion. With the front square face-up on your table, place the back rectangles face-down on top of it. They should overlap in the middle - this is where you'll be able to slip your cushion in and out! Pin and then sew around all four sides.
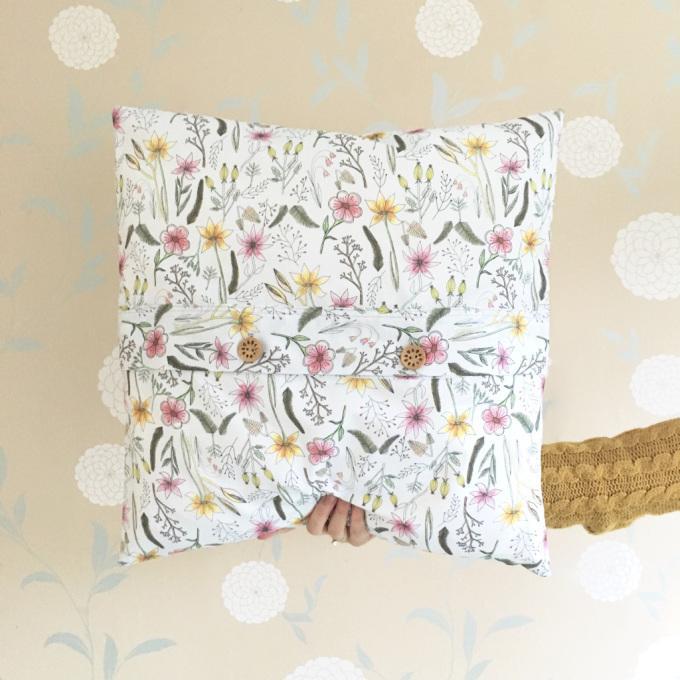
Turn your cushion cover the right way round, give it a good press with a cool iron, and pop your inner inside. Ta-da!

Join us next month for an awesome pattern hack using this cushion cover...
Want to hear more about our great fabrics? Check out our fabric guide page. Want to chat to one of our experts? Let’s chat.