


This month we have a touch of wedding fever, because our pals Becky and Tom are getting married in December! We've teamed up with them to make some super fancy wedding banners that have been designed by Tom, printed by us, and sewn by Becky, who has also written up a tutorial so you can bring some handmade chic to your own wedding. Take it away, Becky!
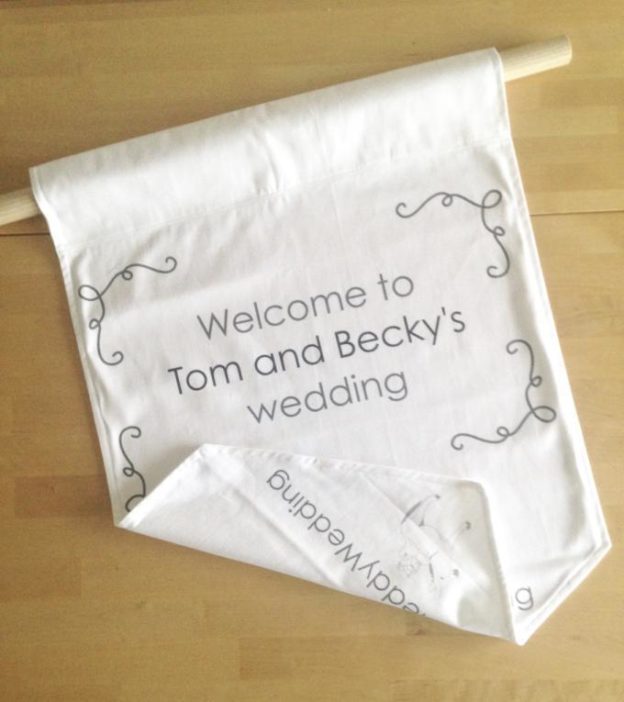
Tom and I are having a pretty relaxed December wedding so we don't want to go overboard on the decorations, but we do want to make sure our guests can find our venue! Inspired by the banners we had at last year's Etsy Made Local event in Nottingham (and at the Etsy UK Captains' Summit, see below!), we decided to make some hanging banners to fit on the same frames. 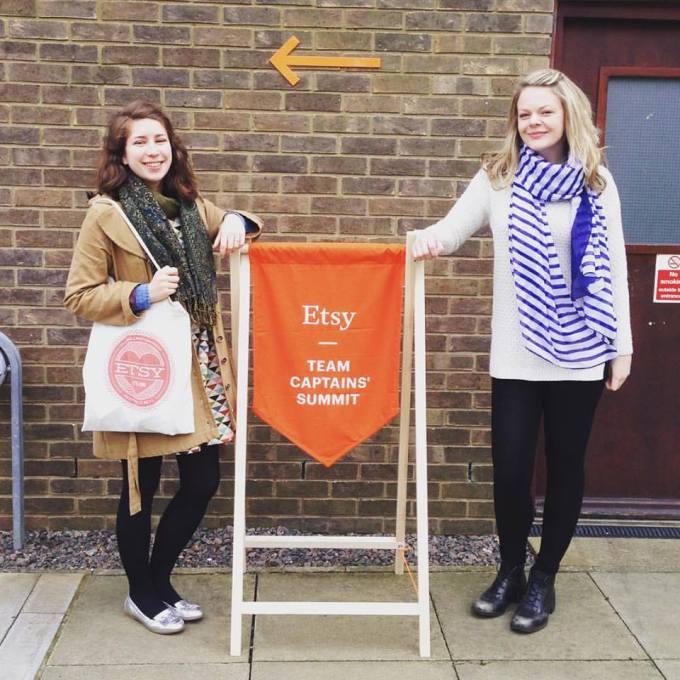 Or, if you don't fancy a free-standing frame like this one (check out eBay for a good selection), you can put a piece of dowel/copper pipe through the top of your banner and hang it from a piece of ribbon.
Tom designed our banner using InkScape, which is a free professional graphics editor. Woven Monkey also wrote a blog post for Tilly and the Buttons which gives you even more tips for designing your own fabric.
We wanted our banner to be fairly big, so we made sure it was approx. 85cm from the top to the tip of the point, and 50cm wide. This included enough room for seam allowances, and for folding over the top (dotted lines on the image below) so there would be enough room for a large piece of dowel. Don't forget to plan for the back as well, if you think it will be visible on the day! 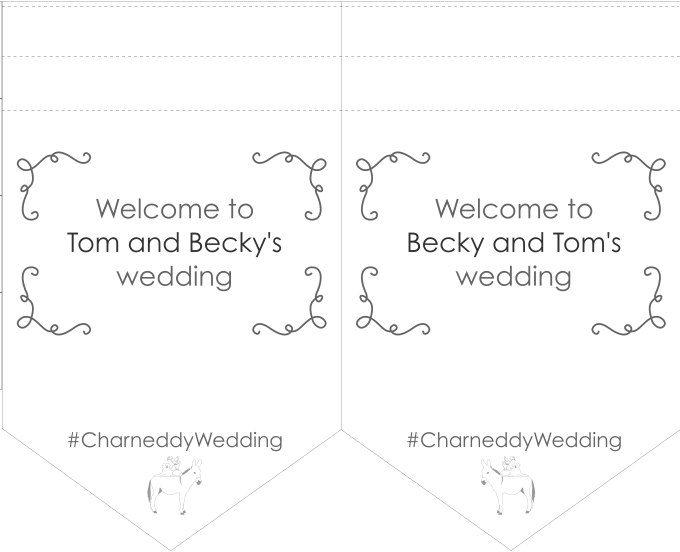 Once our beautiful fabric had arrived (we used cotton drill, because it's quite thick and means that you won't be able to see through to the other side of the flag), I cut out the front and back of the flag and placed them with their right sides together. Pin them in place along the two long sides and around the point, but leave the 'top' of the flag open. Sew these sides with a 1.5cm seam allowance.
 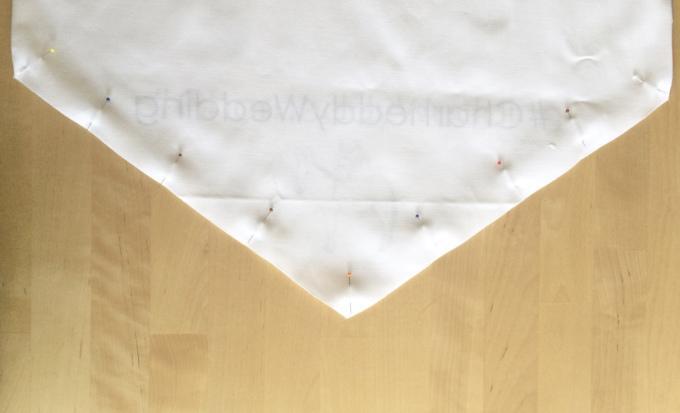 Next you'll need to turn your flag the right way round, so the outside is on the outside and the inside is on the inside again. So there's no knobble at the point of your flag, carefully snip off the tip of excess seam allowance here. Make sure you don't cut too close to your line of stitching, though.
I find that gently poking a knitting needle into the corners of the flag helped get nice sharp corners once it was turned the right way round, and made it much easier to press. At this stage you can also topstitch around the edges for extra fanciness. Bonus points if you're bold enough to use a contrasting colour!
Finally it's time to make the 'loop' for your dowel. Fold the top edge of the flag over by 1cm, and press in place. Fold over another 10cm in the same direction - check the fold lines in the original image if you're unsure.
Sew two lines of stitching on either side of your 1cm fold - it should look something like this, and will keep the raw edge hidden: 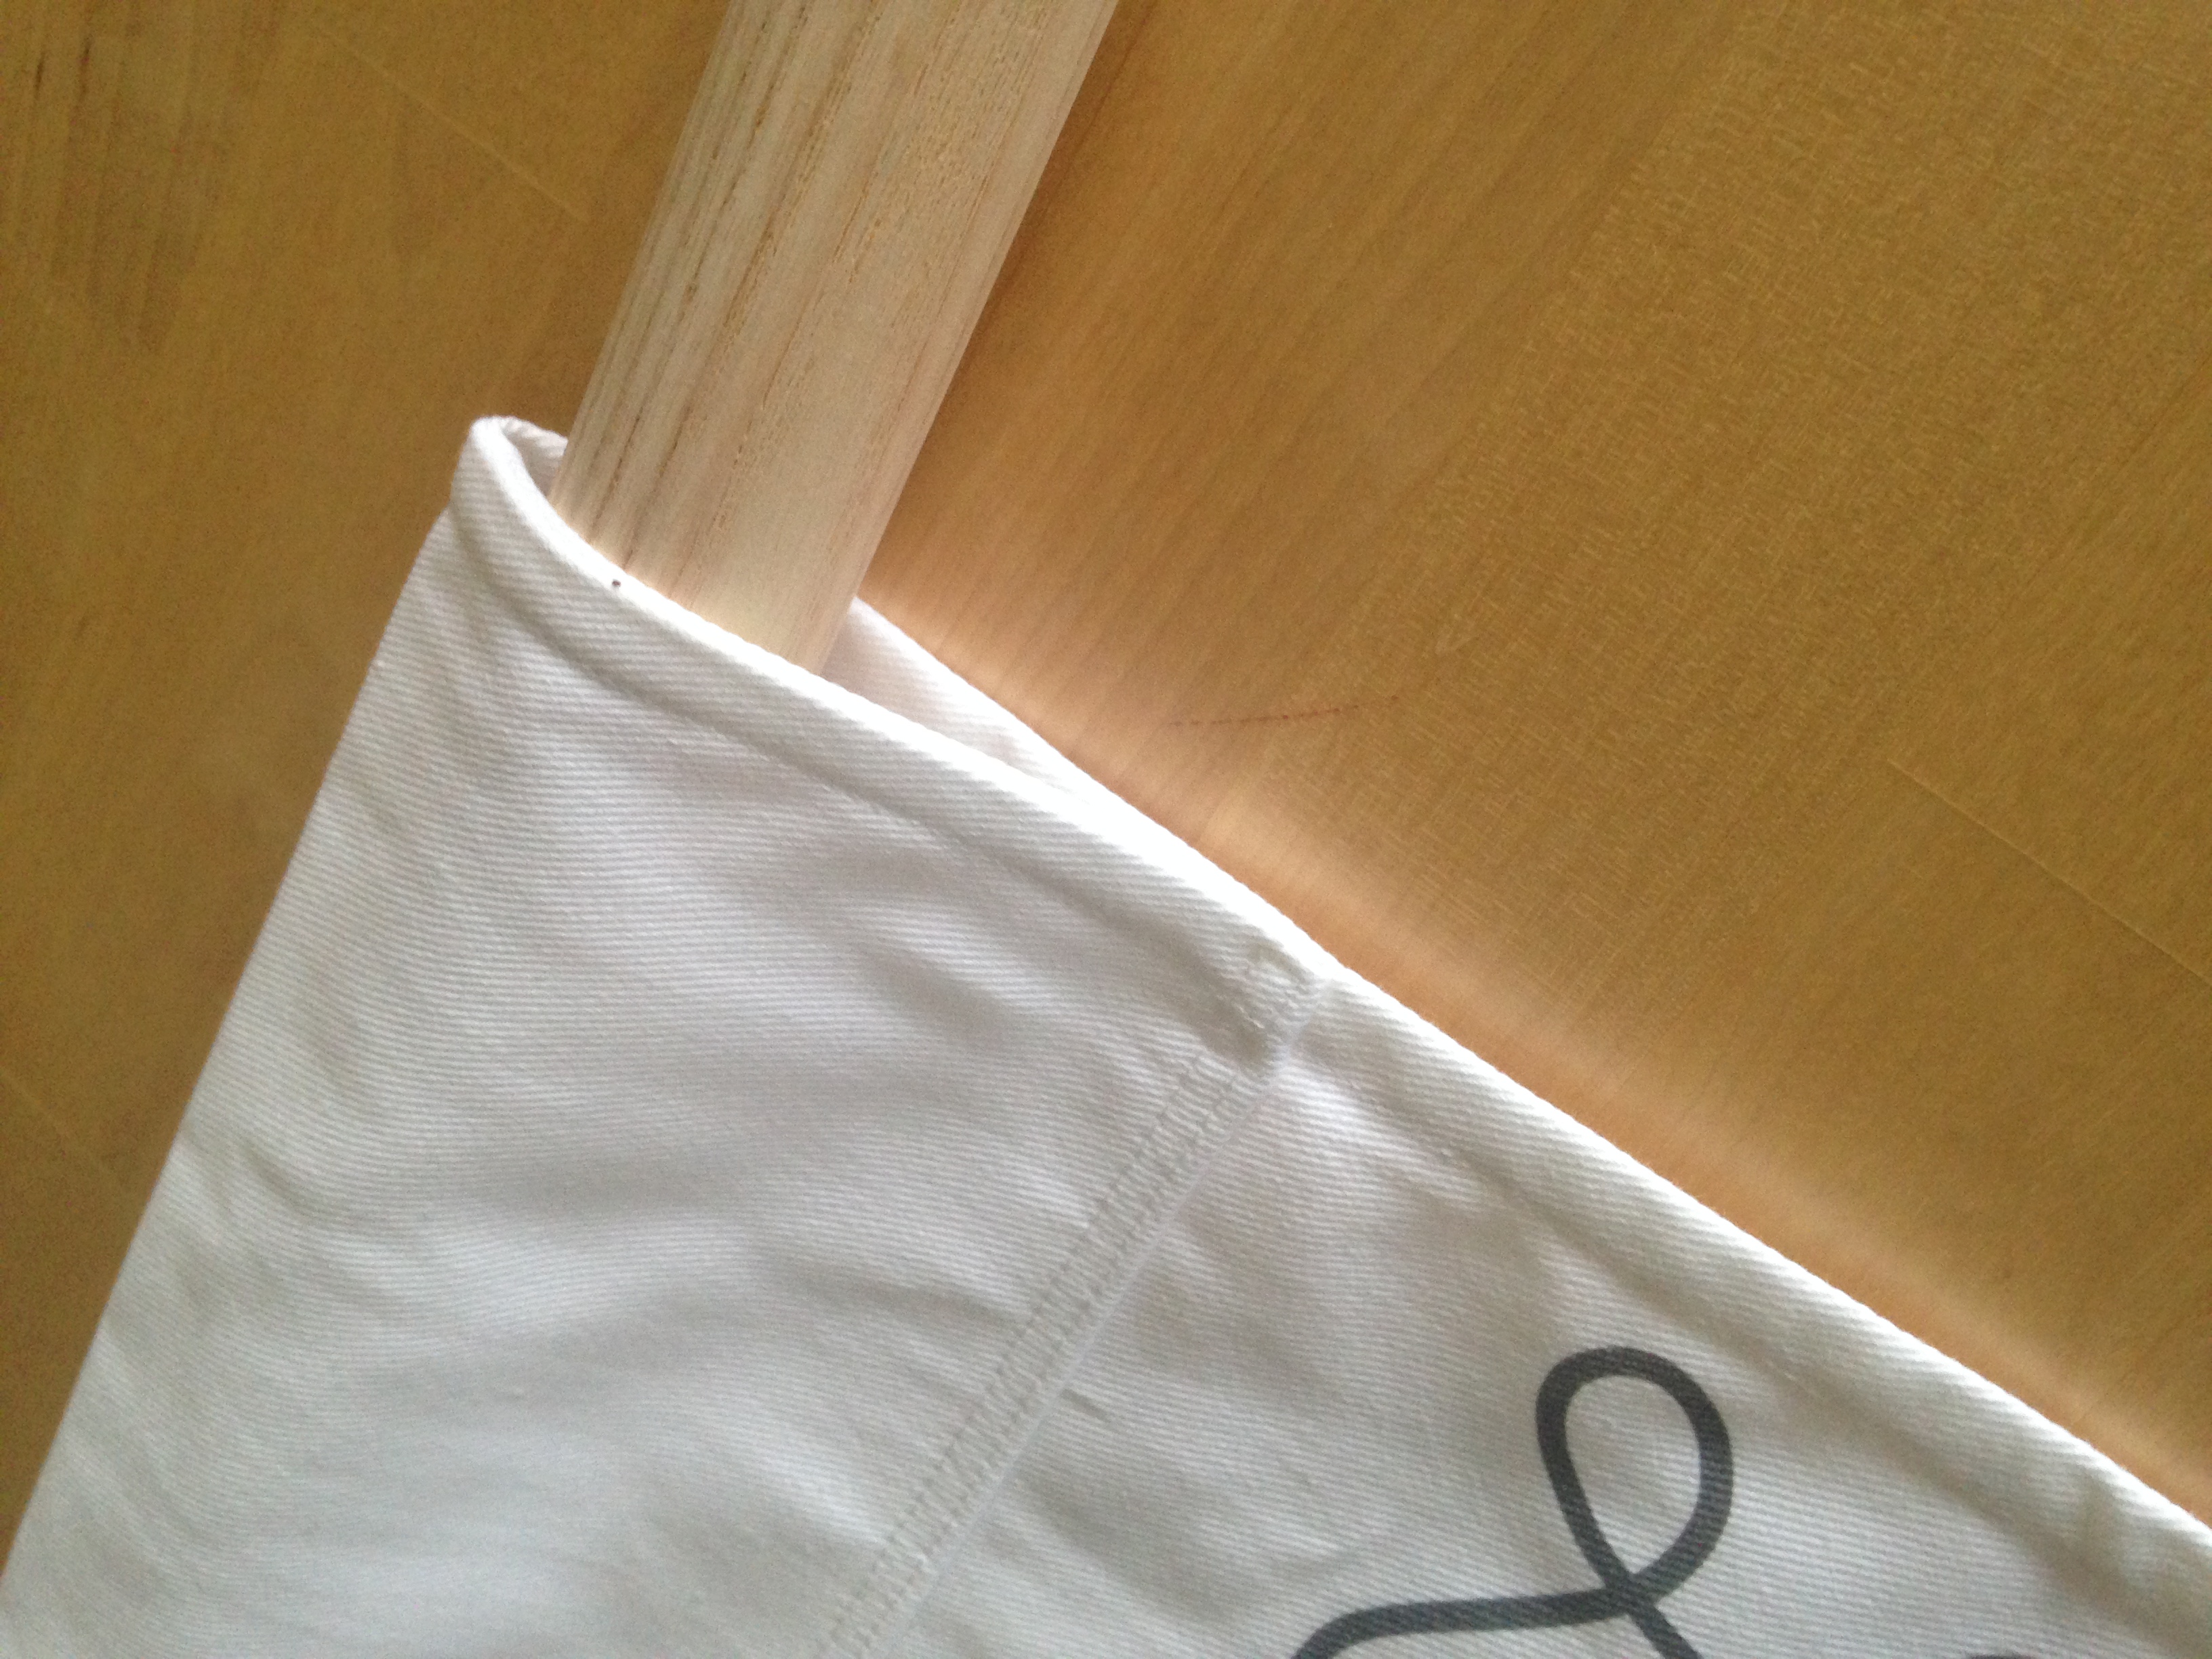 And there you have it....your own two-sided personalised wedding banner!
Want to hear more about our great fabrics? Check out our fabric guide page. Want to chat to one of our experts? Let’s chat.