


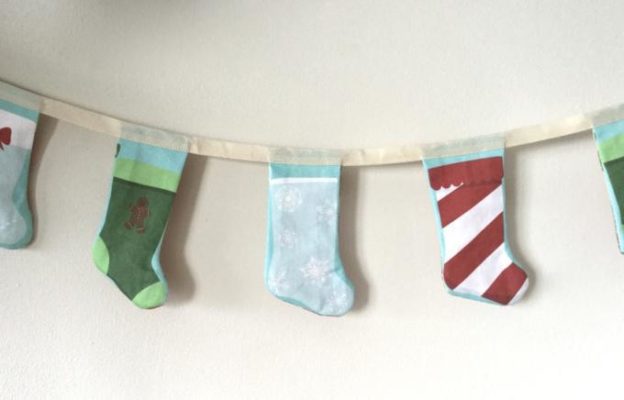
Hello! Today we're going to be preparing for a magical handmade Christmas by making Christmas stocking bunting. It's perfect for beginners, and you can even hand sew them if you don't have a sewing machine.
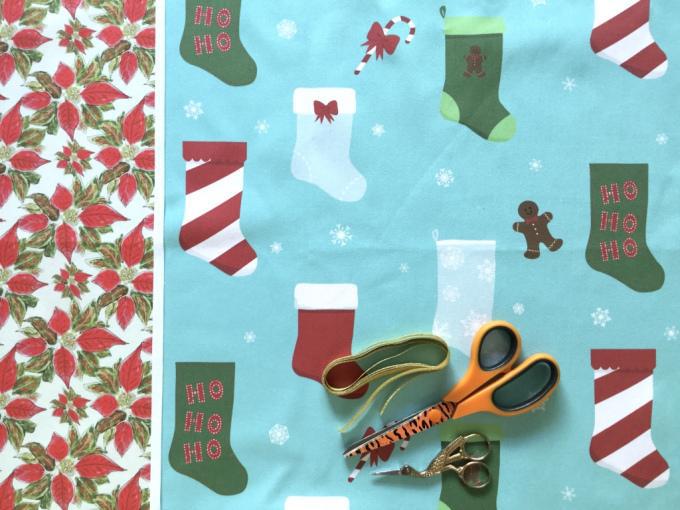
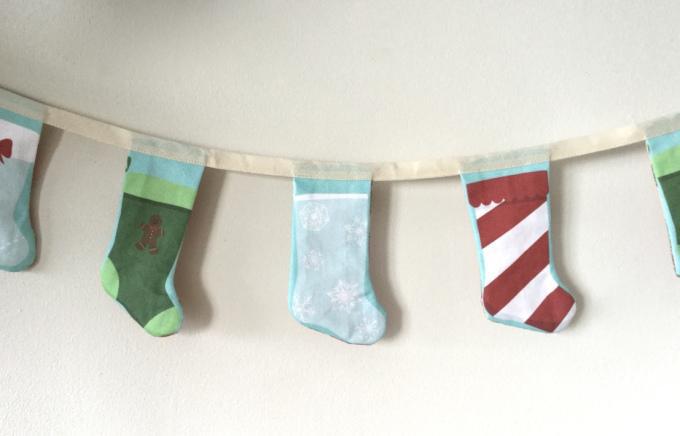
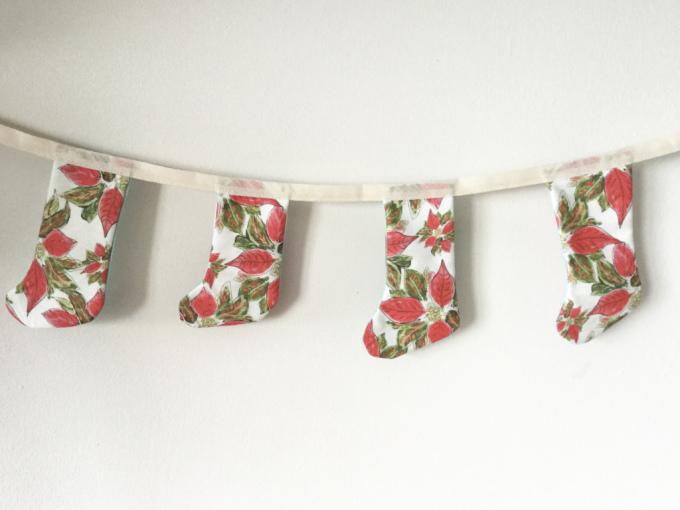
We've made ours double sided, using a Christmas Stocking design by KBDraws and a poinsettia design by BoundingSquirrel. You can order your own on a choice of 6 fabrics!
Supplies:
- 1 fat quarter of Christmas stocking fabric (makes approx. 1.5m (60") of bunting)
- 1 fat quarter of poinsettia fabric
- 1.5m (60") bias binding
- Scissors
- Pins
- Thread
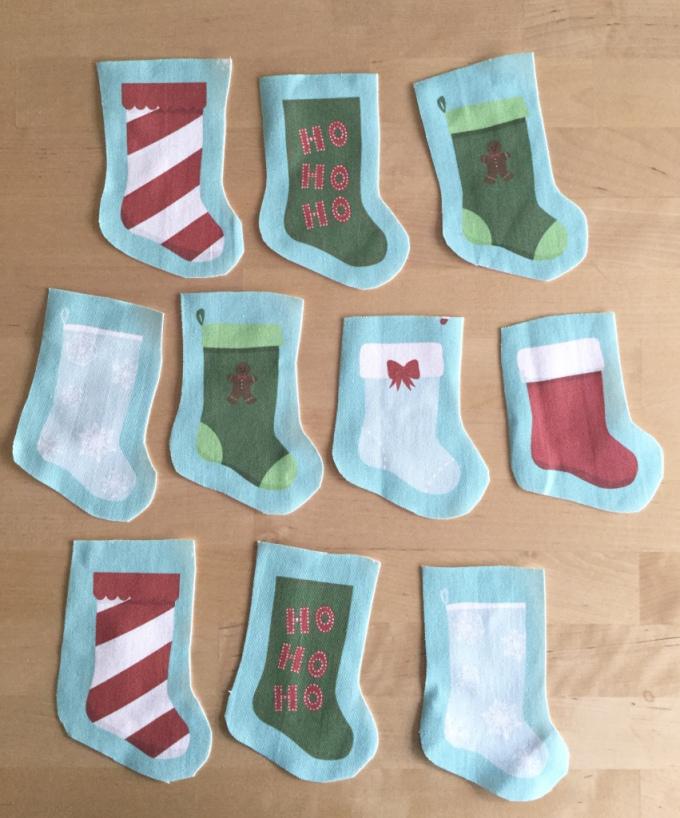
The stockings on KBDraws' design are the perfect size for Christmas bunting! Cut around each one leaving a 1cm (2/5") border as a seam allowance. As a guide, one fat quarter will give you approx. 10 stockings.
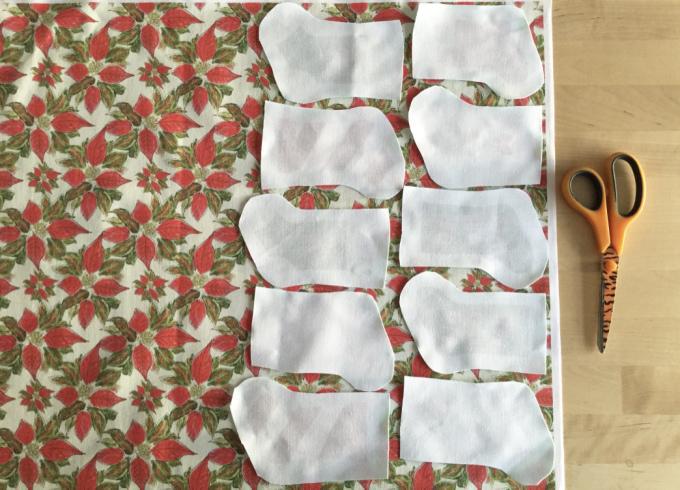
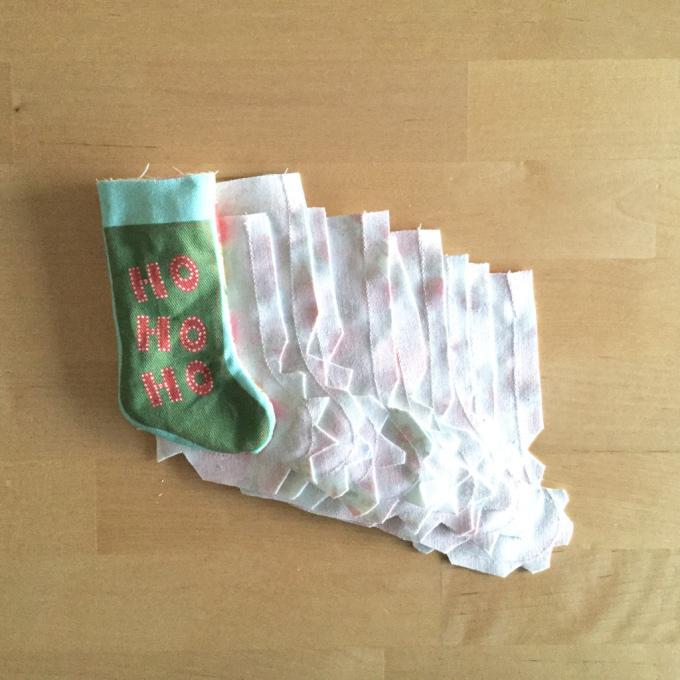
Place your stockings face down on your backing fabric. We chose BoundingSquirrel's poinsettia print, and it looks great! Pin each stocking down and cut around them.
Sew around the edge of each stocking with a 1cm (2/5") seam allowance. Make sure you leave the top of the stocking open though:
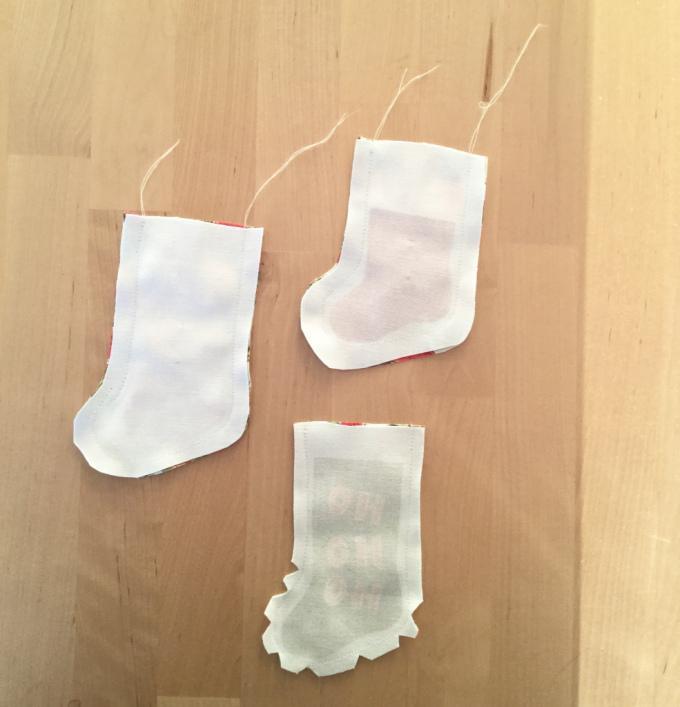
Clip notches around the 'foot' of each stocking, and turn them the right way round. Press each stocking with a warm iron.
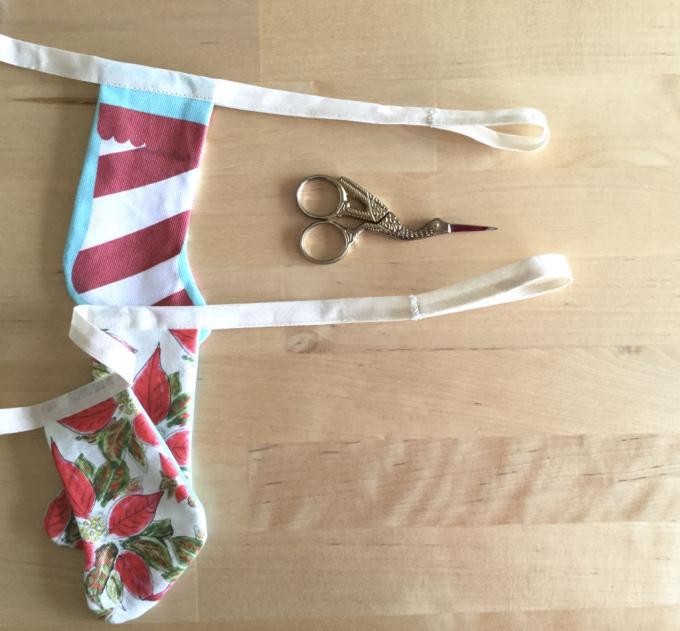
Cut a 1.5m (60") piece of bias binding, and fold it in half.
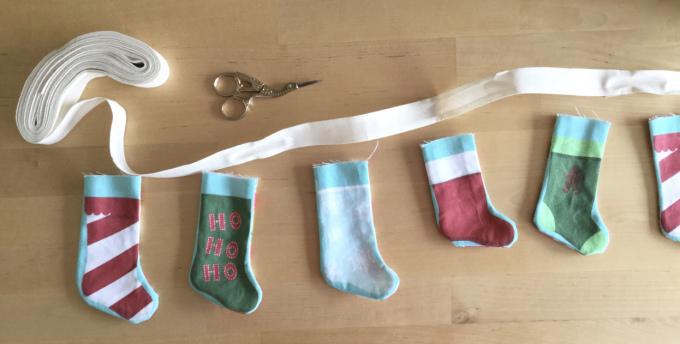
Sandwich the top of each stocking between the bias binding, and pin in place. Leave approx. 5cm (2'') between each stocking.
Using a matching thread, sew close to the open edge of the bias binding, securing the stockings in place. If you want to hang the bunting from nails or branches, fold over each loose end of the bias binding and stitch in place to make a loop.
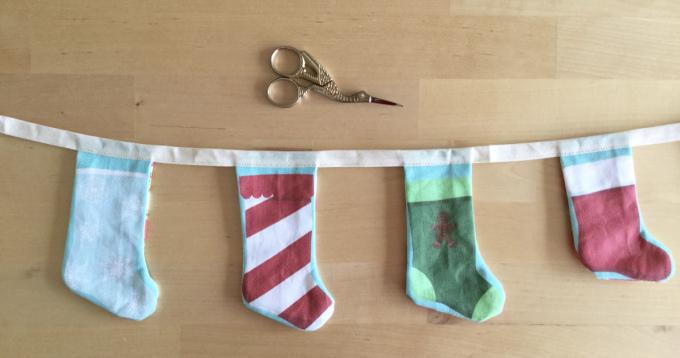
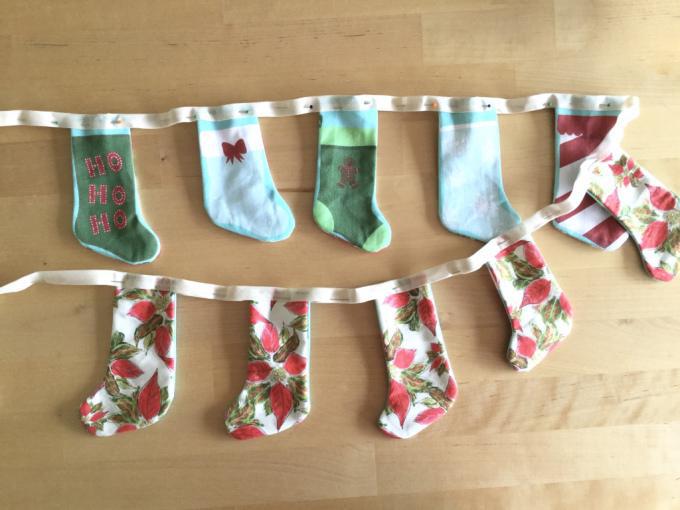
There you have it, two-sided Christmas stocking bunting! Hang it off your mantelpiece, wrap it around your tree, give it as a gift...the world's your oyster!
Want to hear more about our great fabrics? Check out our fabric guide page. Want to chat to one of our experts? Let’s chat.