


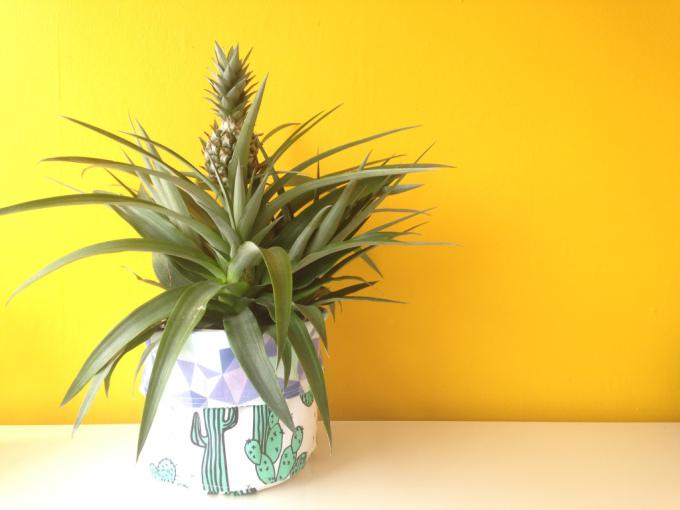
Hi everyone! Today we're going to make a reversible fabric basket - we use ours for holding a pineapple plant (and hiding the boring pot it came in), but you can use these baskets for just about anything!
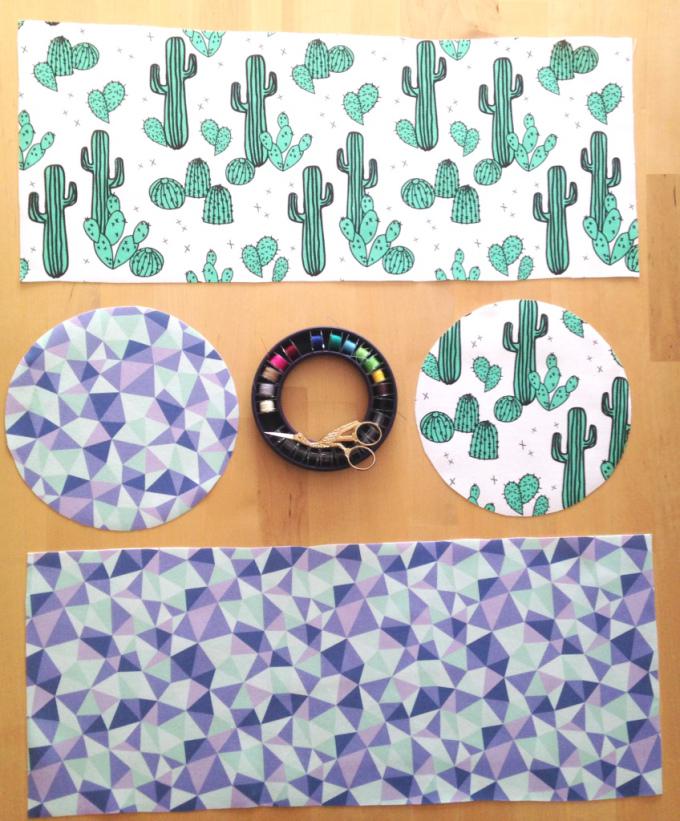
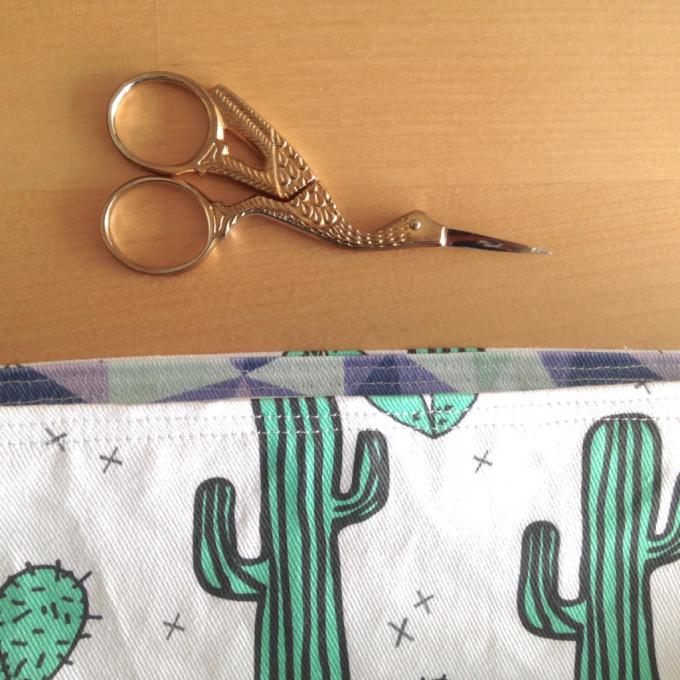
First you need to choose your fabric. How much you need will depend on the size of your pot, but we used half a metre of each print and still had some left over to make a whole family of little baskets! We chose a modern cactus print from Andrea Lauren, and a purple geometric print from Tarynosaurus. Cotton drill works best for this project because the thicker fabric makes the baskets more robust, and you won't need any interfacing to make sure they stand up on their own.
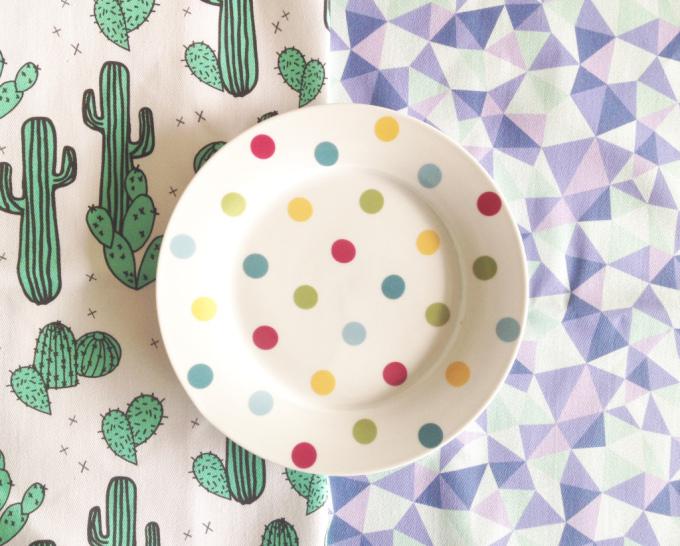
Next you need to decide how big to make your basket. We chose to make ours a little wider than the circumference of the pineapple's plant pot (so there'd be a bit of wiggle room), and we managed to find a plate that was exactly the right size. Have a rummage through your kitchen and find a bowl/plate/big mug that's about the right size for your basket. You'll need to cut two discs which are the exact size of your plate (or whatever item you chose!), one in each print.
Next you'll need to measure round the outside of your plate to find its circumference. Add 1" for seam allowances to that measurement, to give you the length of the rectangle you'll need to cut to make the sides of your basket. For us this was 21"(53.5cm) circumference + 1"(2.5cm) seam allowance = 22”(56cm) length.
How tall you make the basket is entirely up to you - we deliberately made ours taller than the plant pot so we could turn the top over to get a peek at the inside fabric, but turning the top over also helps with stability. Add 1" seam allowance to your desired height. For us this was 8"(20.5cm) height + 1"(2.5cm) seam allowance =9"(23cm) total, so we cut out a 22" x 9" (56cm x 23cm) rectangle in each of our fabrics.
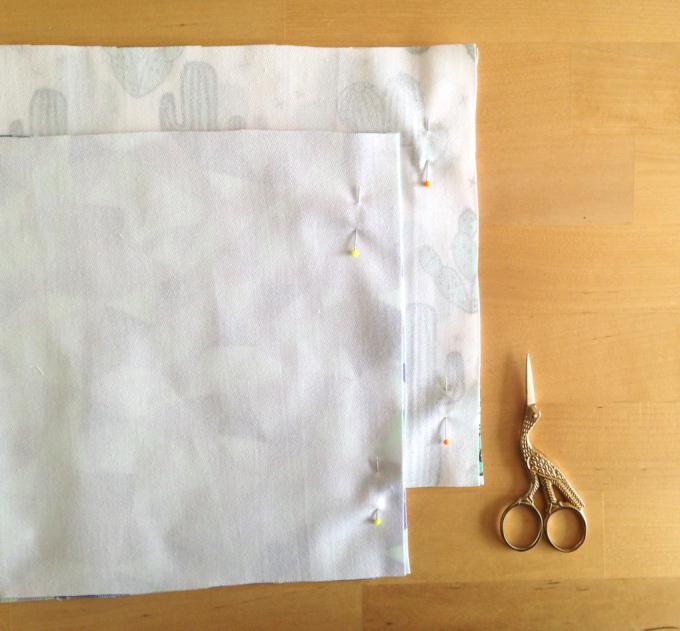
Fold each rectangle in half, right sides facing, and sew the raw edges with a 1/2"(1.25cm) seam allowance. You'll end up with two bands of fabric.
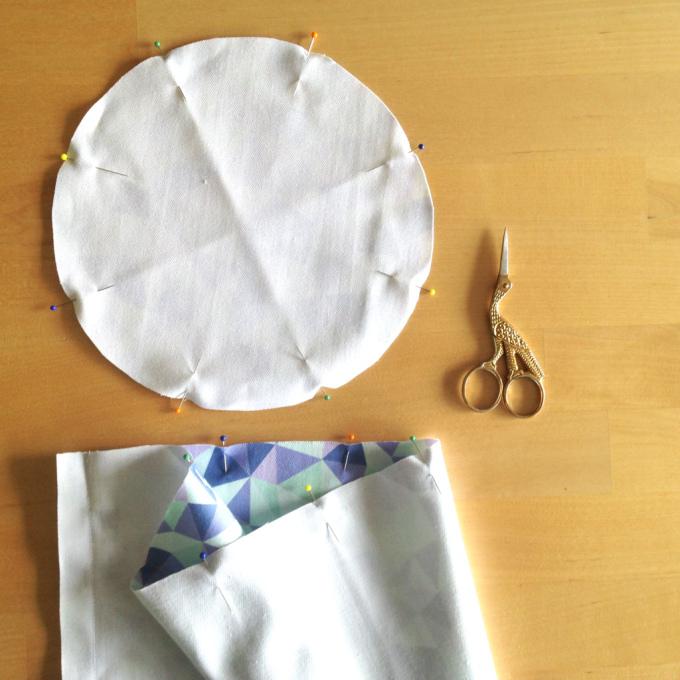
Next it's time to insert the circular base! This is the tricky bit, so take it slow and use LOTS of pins to make sure everything stays in place.
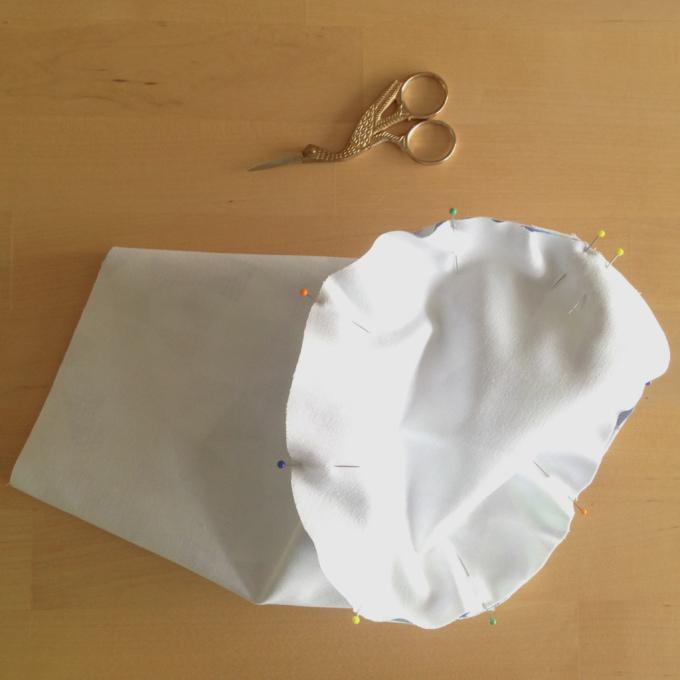
First, fold your circular base in half, then half again, and in half one more time to create soft creases. Pop a pin along each crease like in the picture below. Then take your newly sewn band of fabric and fold in half three times as well, putting pins along the creases again.
Line up one pin from the base with one pin from the band, and pin the two pieces of fabric together. It's a little fiddly, but keep going till all the pins are matched up and re-pinned together, and you'll have something that looks a bit like this:
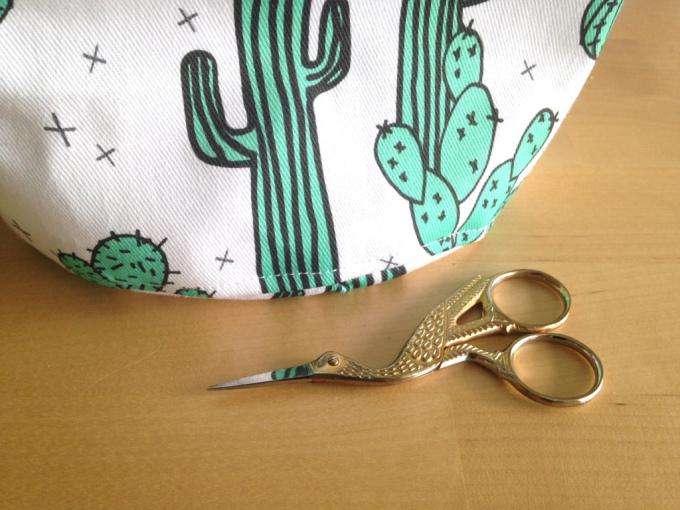
Very carefully (trust us!), sew the base into the band with a 1/2"(1.25cm) seam allowance. The outside edge of the circle will be slightly larger than the circumference of the band so you'll need to ease the fabric in slightly as you go.

Bonus points: fold up the seam allowance against the sides of band and topstitch so they're extra strong and look really neat on the outside:
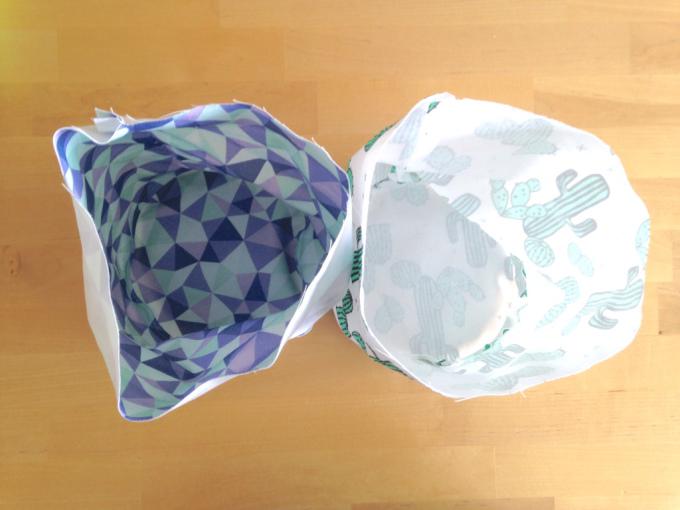
Repeat with your second fabric. Turn one the right way round (this can be your outer fabric for now), and one inside out (this can be your lining for now).
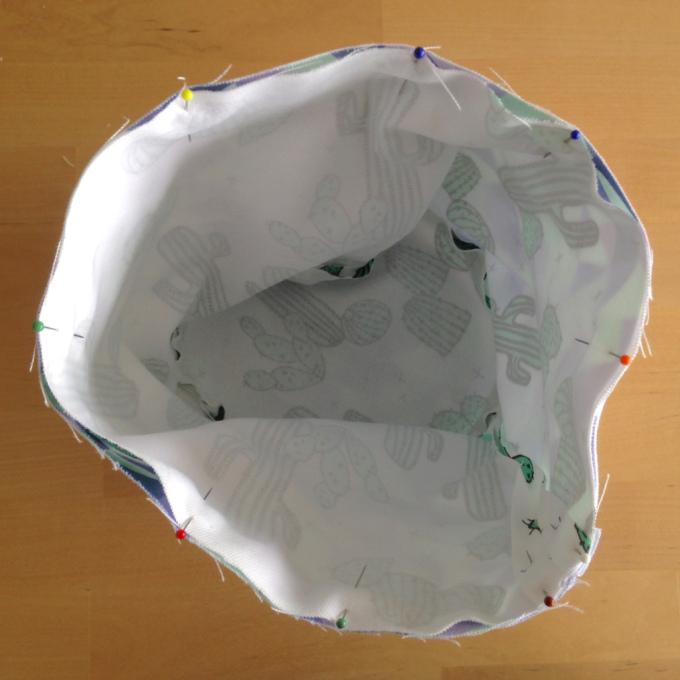
Slip one inside the other, so the right sides of the fabric are facing one another. Pin at regular intervals, and sew around this seam with a 1/2"(1.25cm) allowance, but leave a 2"(5cm) gap so you can turn the whole thing right-side out in a minute!
Hand-stitch the gap closed, and top stitch around the top of the basket to keep everything where it should be. We love how a double row of top stitching looks!
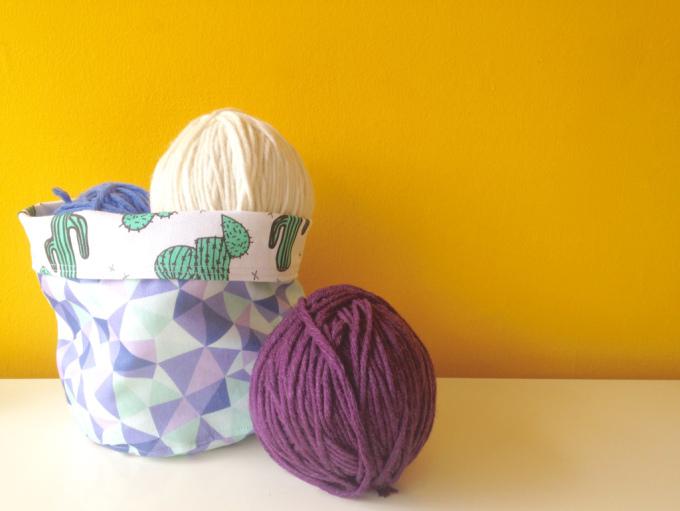
Fold over the top of you basket, and there we have it!
This basket is also reversible, so you can use it for all sorts - how about some fancy yarn storage?!
Want to hear more about our great fabrics? Check out our fabric guide page. Want to chat to one of our experts? Let’s chat.