


Hello all! This week we're showing you how to up your interior design game by adding a piped edge to the cushion cover we made last month. It's a quick and easy pattern hack and you'll need the following items:
- The Cushion cover we made last month
- 2m (approx. 80") of piping cord - we used 0.5cm wide, but this is your choice
- Scissors
- Pins
- Thread

Push one of the ends of your piping cord inside your cushion cover, and lie it flat against one of the seam edges. Insert a pin alongside the piping, on the other side to the seam, as below:
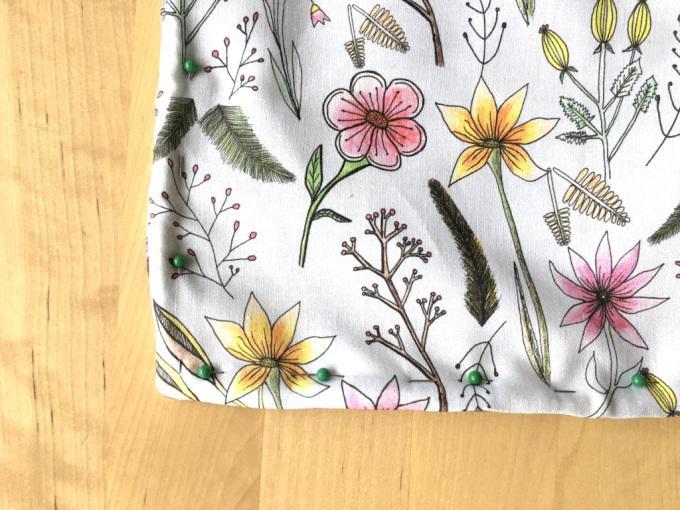
Working around each side in turn, pin the entire length of piping into place. When you get to a corner, just ease it in as best you can, and pin as close as possible to the curved piping.
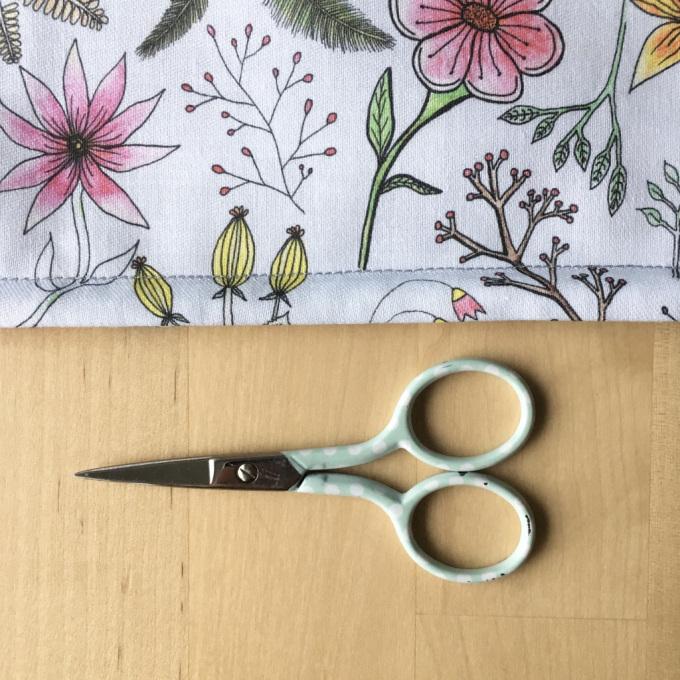
When you get back round to the start of your piping, trim off any excess so the ends of the piping meet. There's no need to tie them together; in the next step we'll seal the piping with stitching, so the ends won't shift.
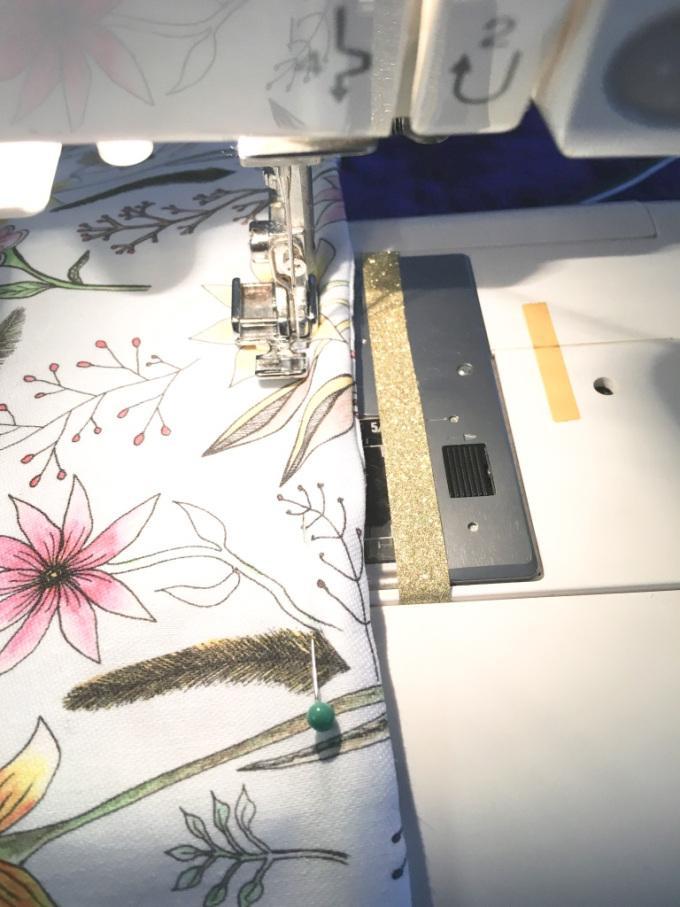
If your sewing machine has a zipper foot, now is the time to use it! It'll help you sew nice and close to the piping, which will give a really neat finish:
Your piped seam should look something like this:
And there you have it - a really simple pattern hack to turn your regular cushion cover into a piped-edge masterpiece!

Want to hear more about our great fabrics? Check out our fabric guide page. Want to chat to one of our experts? Let’s chat.